About a year ago, neighbours of ours over the road were getting rid of the table and mirror below:

I played it fairly safe with the rejuvination of the table, and just went for a neutral white paint look (for the full details click
here):

However, as Jim fully knows, and I am beginning to accept a) I am messy and clumsy and nothing in the flat stays plain white for long, and b) I am a crafting project addict and nothing in the flat stays plain white for long!
In the meantime I also became addicted to Pinterest and saw several inspiring pins about how simple and easy it can be to transform a dull, basic coffee table into a lovely, comfortable and interesting ottoman.
I began by measuring the table for the amount of foam I would need to sit neatly on top:

I found a great seller on ebay who provides different thicknesses of foam in the exact dimensions you require. I went for three inches thick, and used a spray mount glue to fix it to the table top:

I then took a trip to the lovely Fabrics Galore on Wandsworth Road and got myself some cheapety-cheap wadding. I went for at least double the area than of the foam so that it would comfortably wrap around the edges and underneath the table:
Using a nifty staple gun (how I lived without one before now I'll never know) I pulled the wadding gently around the foam and stapled it to the underside of the table:

Next came the material. I picked this grey and white striped number up quite cheaply at an antiques stall in East Dulwich thinking I would use it for some cushion covers. But, to be frank, we already have too many cushions, and it was the perfect size for the ottoman - it found its calling! Pulling the material taught, but not too tightly so that the foam and wadding were squashed down, I evenly worked my way from the centre of each side, stapling the material to the underside of the table:
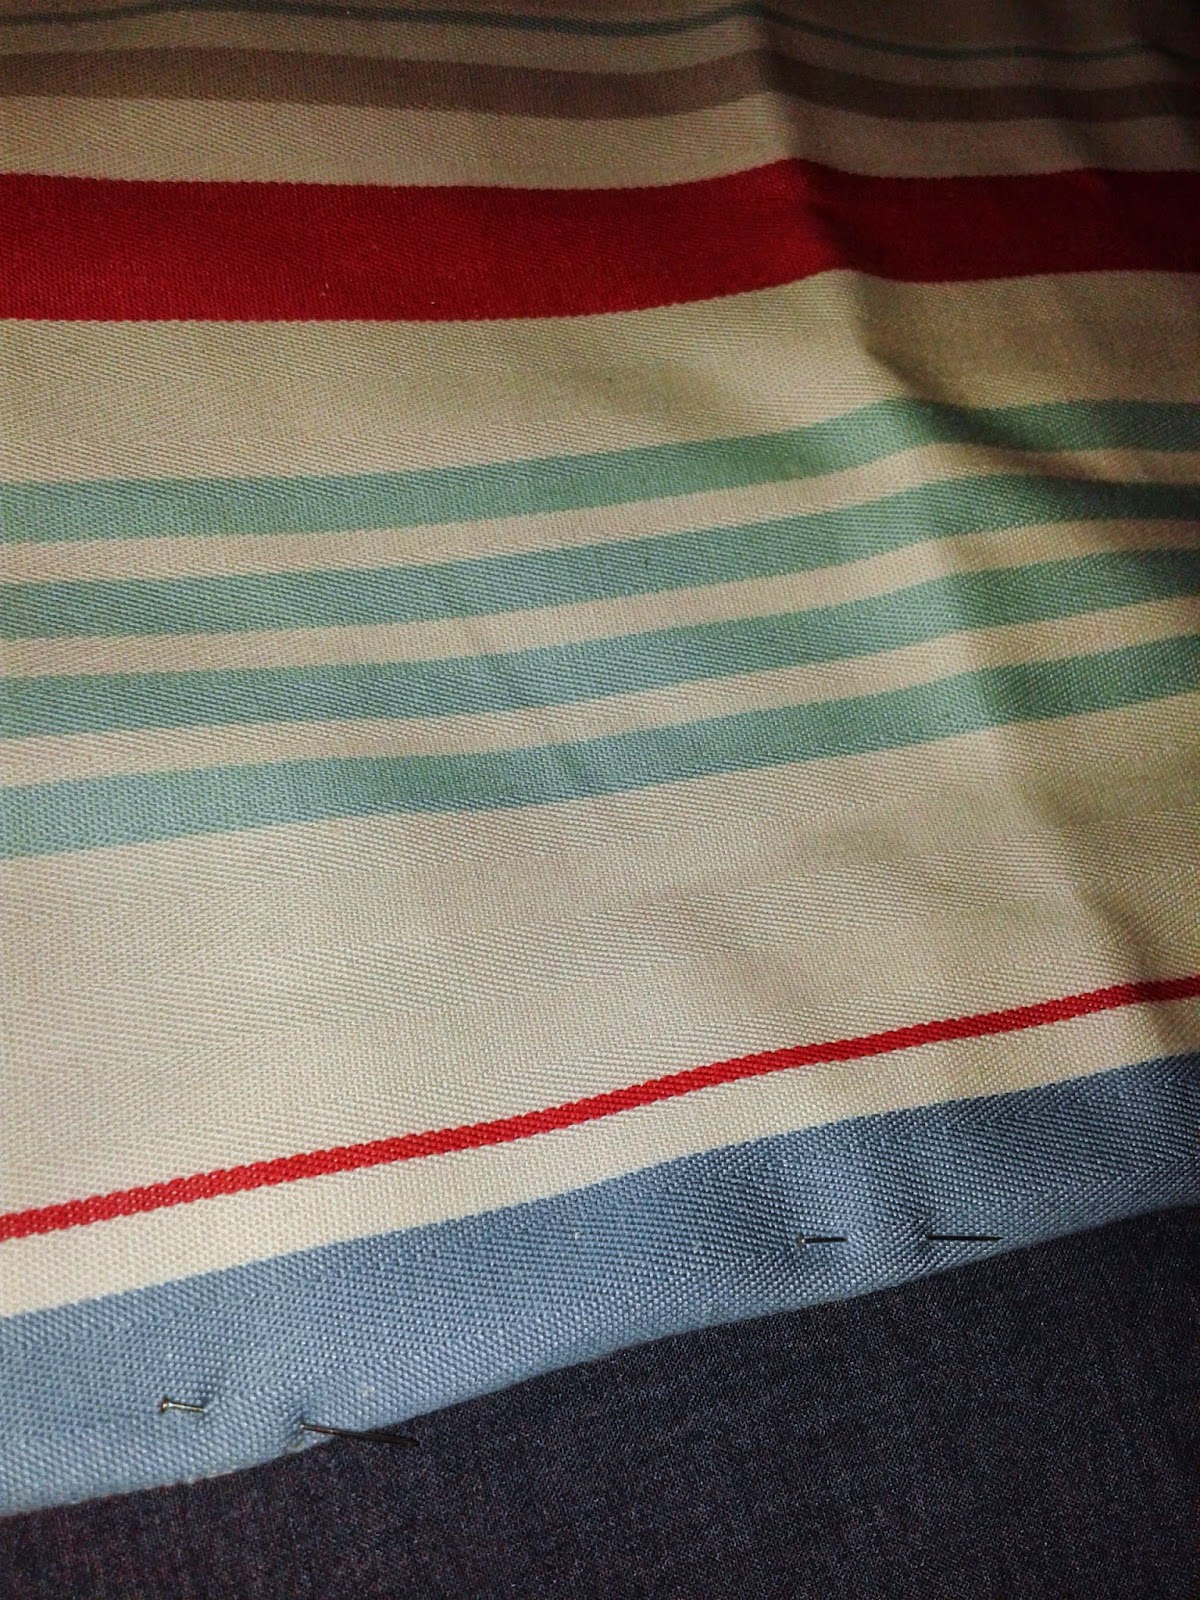
When it came to the corners I found it easier to neatly pin the fabric
in place first making sure the folds were crisp, before stapling.

The final detail were some buttons I found on ebay that allow you to cover them in any fabric...
...which I sewed evenly onto the top of the ottoman, using a long needle so that they attached onto the foam to give it a dimpled effect:
Et voila! A super-easy ottoman from a sad, abandoned table!