Before:
Granted, it is daylight coming through the curtains there, but it's not too dissimilar at night!
Having never attempted a blind before I Googled some techniques and came up with the following equipment needed:
- 2 identically sized pieces of contrasting fabric 2-3 inches larger round each side of the window you are fitting the blind to
- needle/sewing machine, thread, pins
- 4 x strips of ribbon the length of the window
- sticky velcro strips slightly longer than the width of the window
- doweling (I used a bamboo stick from my Dad's garden)
And this is the rough method:
1. Cut your fabric pieces to size (remembering to allow space for seams) and pin the patterned sides together (face to face).
2. Sew along the bottom and down each side of the materials and then turn the fabric the right way out before ironing all the edges flat.
3. Sew along the bottom edge of the blind (about 1-1 1/2 inches from the bottom) for the doweling to slot into later:
4. Pin your 4 bits of ribbon to the front and back of the top (the un-sewn edge) of the blind, about 1/4 of the way in from each side:
5. Then pin your furry (not the scratchy) part of the velcro strip to the front of the blind...
6. Using a strong needle sew the velcro and ribbons into place:
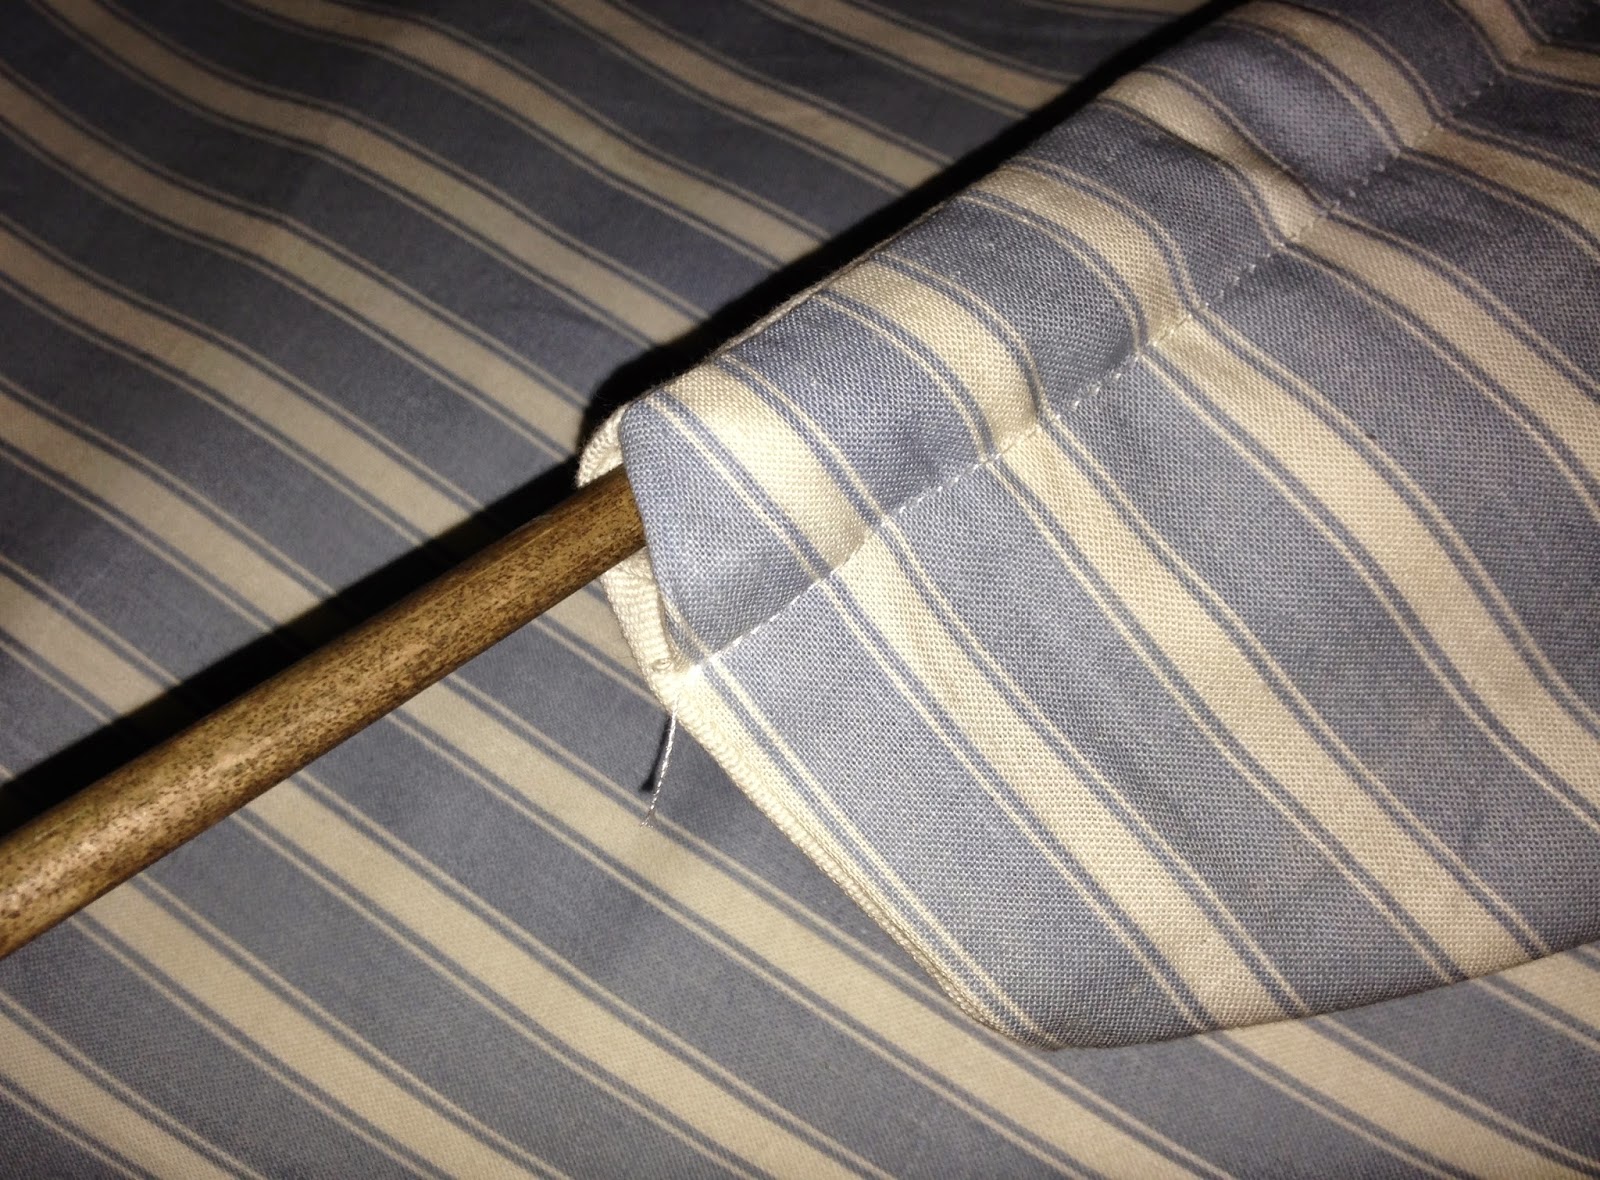
7. Unpick a few stitches on one end of the inch strip you sewed at the bottom of the blind and gently slide in the doweling:
8. Unpeel the protective tape from the scratchy, sticky bit of velcro and stick it to the wall or frame where you want to hang the blind, then simply attach the blind with the furry side of the velcro:
Ta da! It's doing a great job as Jim has struggled to get up for work on two consecutive days in a row due to not being used to it being so dark in the bedroom in the mornings!


