Showing posts with label applique. Show all posts

Thursday, 7 February 2013

Valentine's Heart Decoration


This is a bit of a cheaty post as I originally made this hanging heart decoration to give to my lovely friend Sally as a Secret Santa Christmas present back in December. However, this time of year sees the rekindling of all heart-shaped things in celebration of Valentine's Day.


Ahh lovely.

So, if you are in need of some inspiration for a simple and effective Valentine's gift that won't break the bank, or just fancy sewing a delightful little decoration regardless of the time of year, then follow the simple steps below!


1. Cut a heart shape out of old newspaper to the size you want. I wouldn't go much smaller than 10cm in height otherwise it might bet a bit fiddly sewing on the letters, but would be absolutely fine if you wanted to leave the hearts plain.


2. Use the heart template to cut out hearts (double the number of finished hearts that you so desire) from your chosen fabric and keep them together in pairs.


3. Using a contracting fabric, or many contrasting fabrics, cut out the letters of the word you want to spell out on your hearts. I used letters printed out from the computer so all my letters were the same font and size.

4. Using blanket stitch, I sewed each letter onto one fabric heart.

5. Now pin one lettered heart to one plain heart and use a basic running stitch to sew all the way around, about 1cm in from the edge. But don't sew right the way round to where you started - you need to leave a gap about 2 inches long to stick the stuffing into to make the hearts 3D. Once they are as fat as you like with stuffing finish off sewing round the heart.

6. Cut a length of ribbon about 15cm long for each heart. Fold the bits of ribbon in half and pin them to the top of the heart inside the two bits of fabric. Attach the pieces of ribbon with a single sturdy cross-stitch running through the ribbon and both bits of fabric.


7. Now thread a piece of string or more ribbon through the ribbon loops you have sewn onto the hearts and voila! A hanging heart decoration to add a bit of country loving to your home, or to give as a Valentine's Day present.


Wednesday, 12 December 2012

Time for tea birthday card


For my Mum's birthday recently I wanted to make a unique card that was celebratory and also special. Tea time is the epitome of life at my family home - it's when we all come together and have a nice warm drink, probably a biscuit or bit of cake and catch up. And the best thing is it happens any time of the day! So choosing a theme that was so regular, but physically and literally heart-warming and comforting, and making it special by hand-stitching fabric on to card to make the image, seemed the perfect thing to do.

I began by cutting out shapes of fabric from templates I had drawn roughly on paper to make the components of the teacup, handle and saucer. After hemming each shape with a light running stitch so the frayed edges were all hidden I simply glued the cup and saucer sections together with PVA.


When it was fully dry I then glued the whole thing onto the front of a folded piece of A4 card and waited for that to dry too.


I then lightly wrote the words on the front with pencil to make sure they all fitted in before starting sewing...
 

...and using contrasting thick thread I sewed over the letters.


And this was how it looked when I gave it to my Mum on her birthday!


PS. A Christmas post to follow soon hopefully!

Wednesday, 24 October 2012

For the love of cards

It's been a while since I last posted on here, and although I would like to say that's because I have been up to lots of exciting things, more accurately, it's actually a few other people who have been up to several very exciting things all on the same day...

Saturday 20th October saw my Grandma turn 90.


Happy birthday Grandma!

After sending her an appliqued rabbit card earlier on in the year for Easter, I decided to recreate a similar card for her big birthday bash on Saturday.

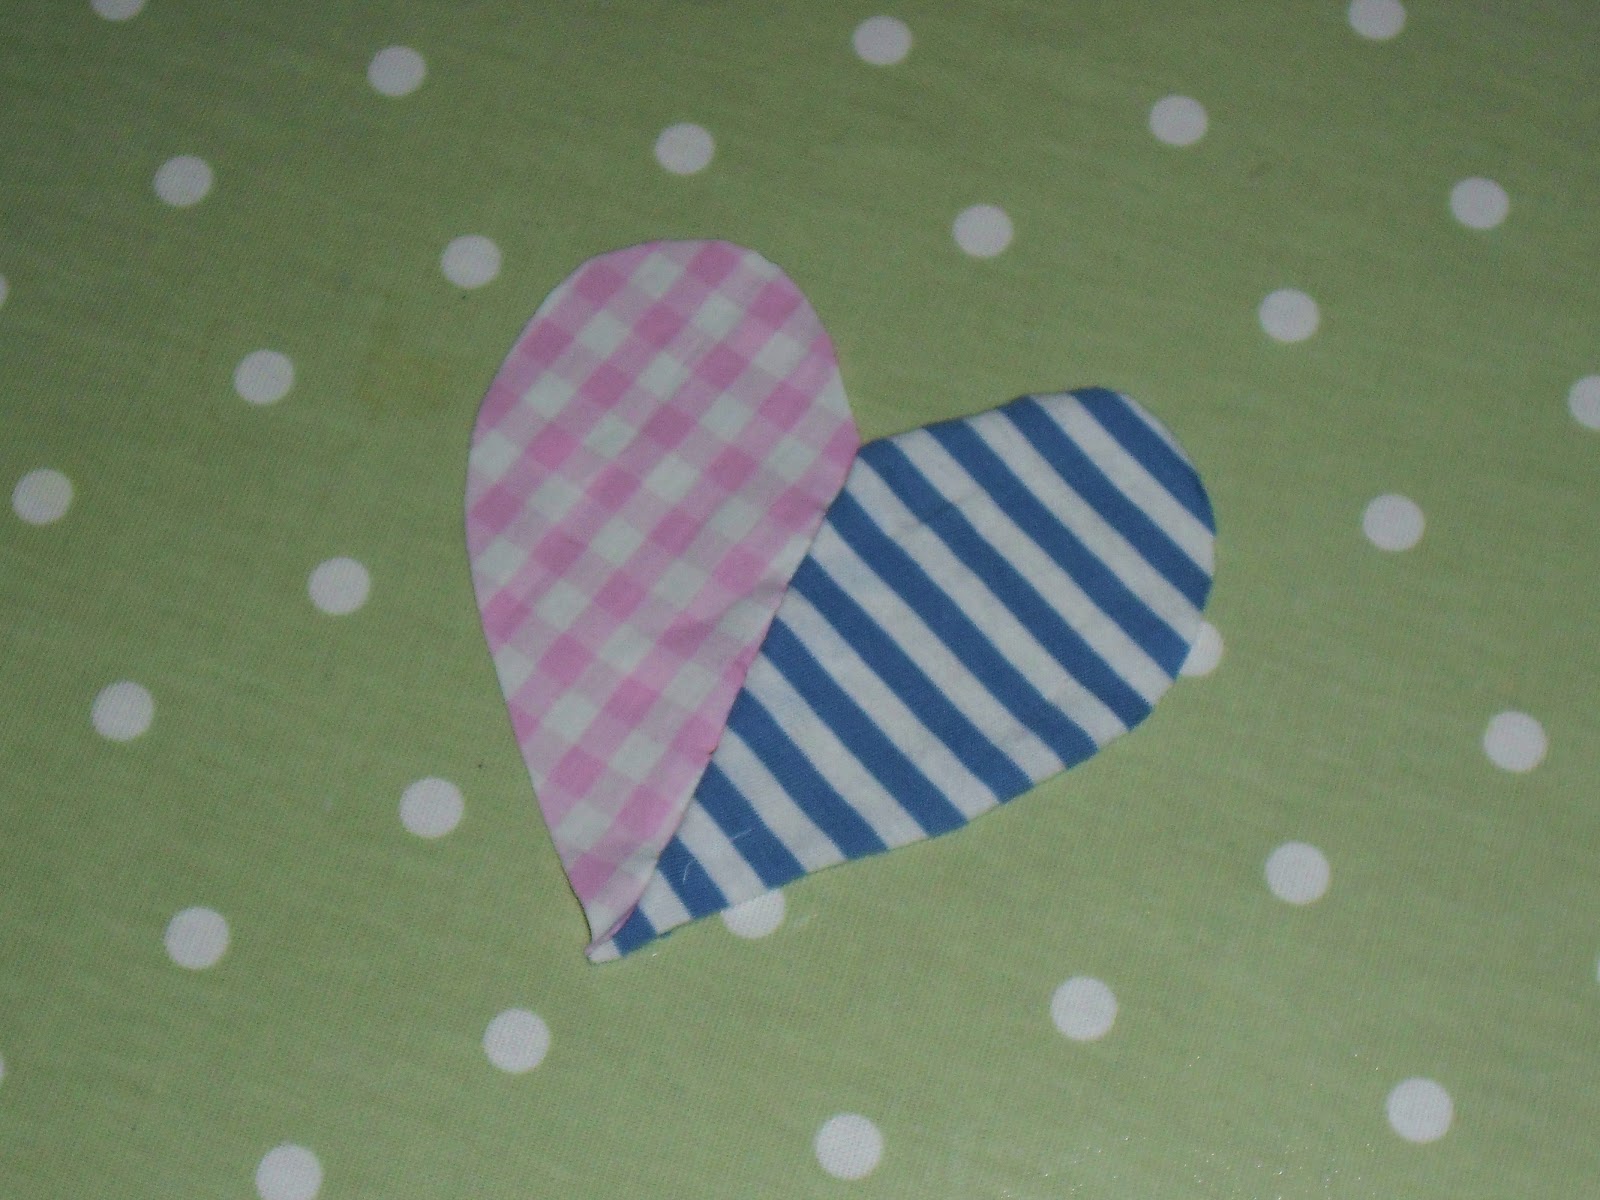
Using a heart template pinned onto a piece of fabric I cut out the main shape.


Then I did the same with the numbers, and used blanket stitch to sew them onto the heart.


I then used a couple of pins to hold the heart in place on a piece of folded white card and used a basic running stitch to attach the heart so that it looked equally as neat on the inside of the card as on the front.


After my Grandma's party I returned home, and checking Facebook just before bed, discovered that not only had a couple of Jim's friends got engaged that day after an 8 year relationship, but so had one of my best friends and her boyfriend, after almost a similar length of time! Hooray!!

Time to get out the heart template again!

I had the idea to make the heart two different colours and then appliquing their forename initials, rather than numbers, to each side:


Ta da! Congratulations Stella and Alex and James and Emma!


Wednesday, 22 August 2012

Applique, patterned circular cushion


A few years ago I realised that the doodles I had been drawing in lectures while at university and in various office meetings all had a tendancy to be circular patterns that repeated out from a centre point. I don't know what this means from a psychological point of view, but when it came to thinking up an idea for a cushion cover design for a friend's birthday present, I had a whole wealth of mini designs to draw on (yes, I kept some doodles on scraps of paper - I don't know why).


I began by sketching out a circular pattern on paper to see how well the shapes would fit together keeping them as simple, but as striking, as possible. Next, I drew and cut out some sturdier cardboard templates of the three main shapes that would make up the repeating pattern and used them to cut out several of each shape in different coloured fabrics.


I pinned the shapes onto a piece of plain cotton to form the main cover. With a rough idea of the size of the pattern, I bought a round cushion pad, and then cut round the shapes on the fabric to the size of the cushion and cut one other piece the same size for the back of the cover, leaving about 2 inches round each edge for the hem. (Unfortunately, it turned out that the cover needed to be smaller than I'd originally anticipated in order to make the cushion inside fit in a nice, padded way, so I had to remove the outer two rings of shapes...)


Using blanket stitch, I sewed each shape in place onto the fabric by hand. Then I pinned the front and back parts of the cover together face to face and sewed them together with the sewing machine, leaving a gap of about 20cm to fit the cushion into when it was turned the right way out.


Finally, I squeezed the cushion pad into the cover and sewed up the remaining gap by hand.


And there you have one slightly wonky, circular, patterned cushion!