Showing posts with label celebration. Show all posts

Wednesday, 24 October 2012

For the love of cards

It's been a while since I last posted on here, and although I would like to say that's because I have been up to lots of exciting things, more accurately, it's actually a few other people who have been up to several very exciting things all on the same day...

Saturday 20th October saw my Grandma turn 90.


Happy birthday Grandma!

After sending her an appliqued rabbit card earlier on in the year for Easter, I decided to recreate a similar card for her big birthday bash on Saturday.

Using a heart template pinned onto a piece of fabric I cut out the main shape.


Then I did the same with the numbers, and used blanket stitch to sew them onto the heart.


I then used a couple of pins to hold the heart in place on a piece of folded white card and used a basic running stitch to attach the heart so that it looked equally as neat on the inside of the card as on the front.


After my Grandma's party I returned home, and checking Facebook just before bed, discovered that not only had a couple of Jim's friends got engaged that day after an 8 year relationship, but so had one of my best friends and her boyfriend, after almost a similar length of time! Hooray!!

Time to get out the heart template again!

I had the idea to make the heart two different colours and then appliquing their forename initials, rather than numbers, to each side:


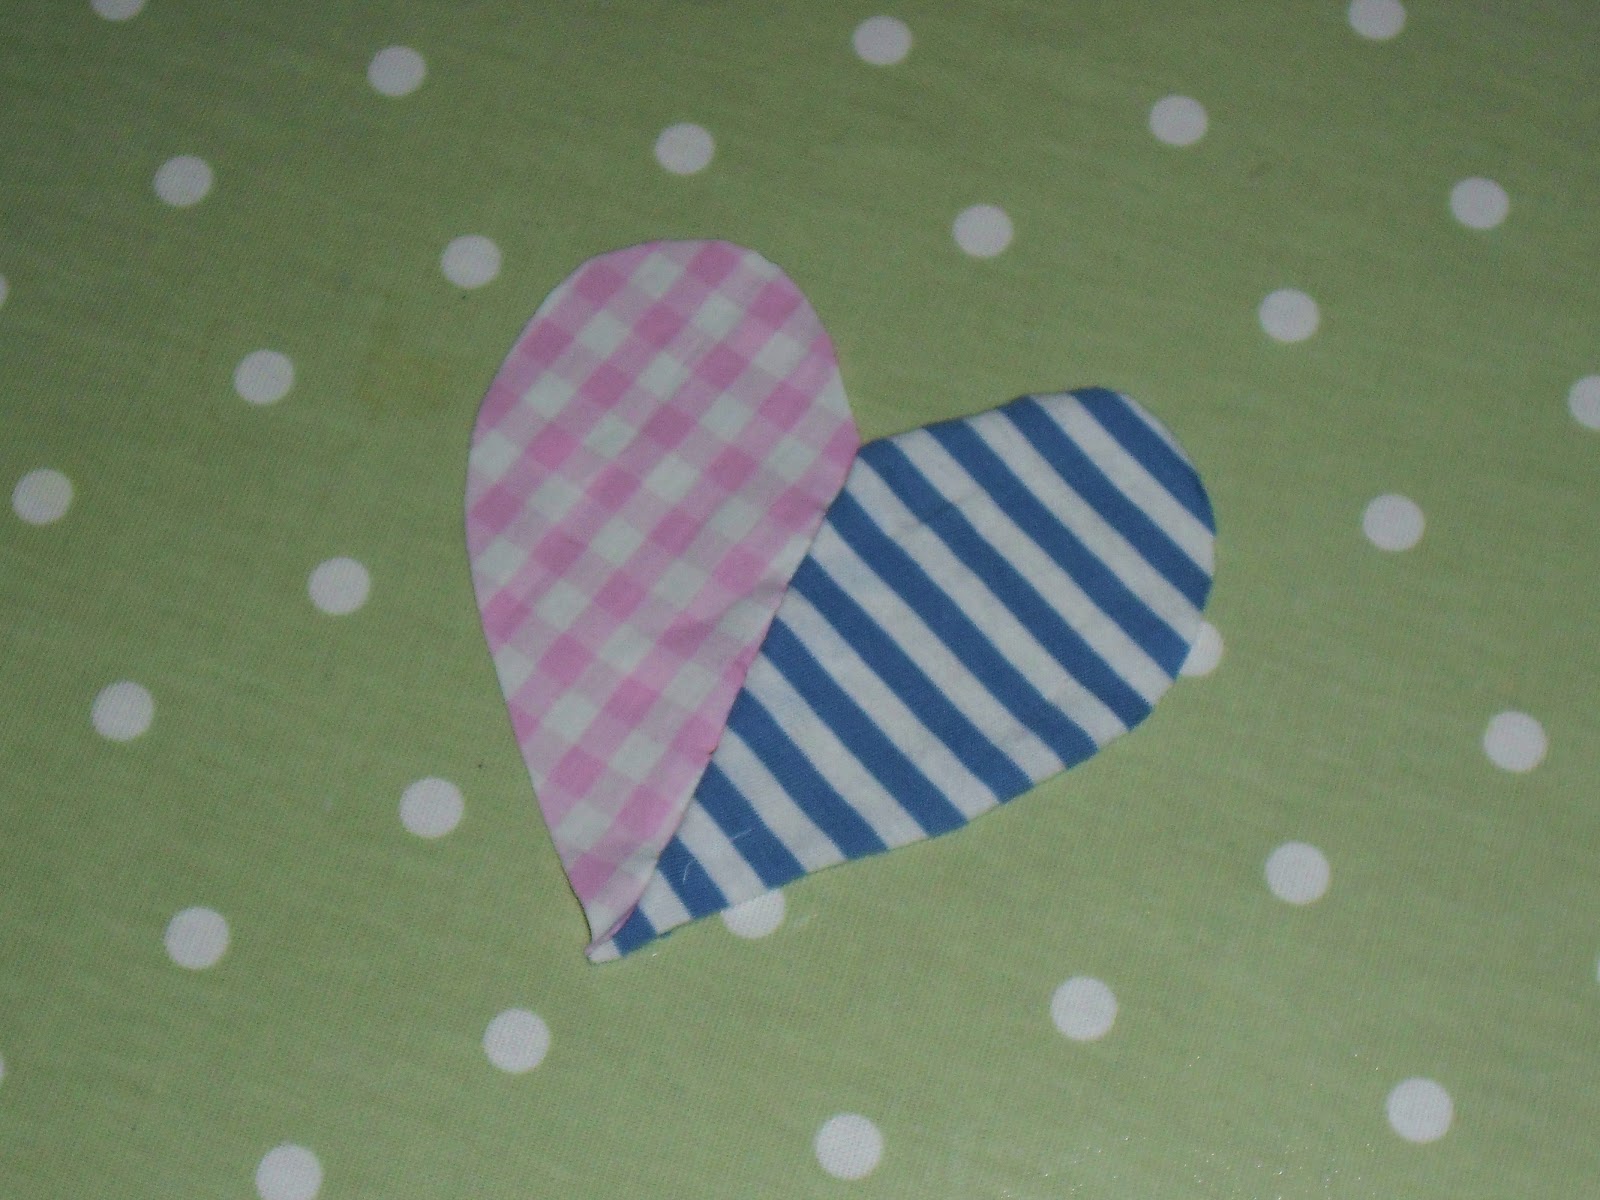
Ta da! Congratulations Stella and Alex and James and Emma!


Wednesday, 14 March 2012

Mother's Day bunting greetings cards

So here is an idea that I sneakily took inspiration from the AllAboutYou website for:


It is a simple greetings card made from a white A4 piece of card folded in half with fabric bunting glued/stitched on to give a spring-like, celebratory feeling.

I began by sorting through my scrap material collection and picking out coloured bits small enough not to be used for anything else more substantial, but large enough to cut out uniform triangle shapes using a cardboard template:


I then lightly glued six contrasting triangles onto a folded piece of white A4 card, corner to corner, in the shape of celebratory bunting hung up in a row.

When this was 100% dry, I used the sewing machine to sew a running stitch across the top of the bunting triangles, where string would be hanging them up in reality:


Your card is now ready to be written and sent to your mum! Or, if you make more than one, it's a fun idea to tie a set of cards together with some string or ribbon and give them as a gift - on this Sunday or any other time of the year!


Love you mummy!

Wednesday, 19 October 2011

Quick and easy bunting

Last night I finally knuckled down and finished off a project I began back in June for two friends' surprise birthday picnic - some good old-fashioned celebratory bunting.

Picnic party time

All you need for a similarly easy (and hopefully much quicker) string of bunting is:
  • Lots of different coloured scraps of fabric - I think bunting looks great when all the fabrics are mismatching and contrasting, so have a rifle around to see what you can find for free, rather than going out and buting any material especially
  • Scissors
  • Triangle template
  • String (As long as you'd like the bunting to be)
  • Needle, pins and thread or sewing maching
 
1. Back in June I began by cutting a triangle template (23cm down the long sides and 17cm along the short side) from an empty cerial packet, and using it to cut out what felt like hundreds of different coloured fabric triangles. I cut about a centimetre off the two top corners so that when the top side of the fabric was folded over the string, the corners didn't stick out.


2. I loosely tacked the top of each triangle over the string with coloured thread so that I would be able to unpick it once I had sewed it properly with the sewing machine.


Unfortunately I then ran out of time before the picnic that I wanted to use the bunting for, so it was strung up slightly precariously on that windy summer's evening, but managed to do a good job of decorating our picnic area on Clapham Common!


3. So, last night after months of unnessecary procastinating I sat down with my sewing machine and stitched a simple running stitch over the string and top edge of the bunting to hold it all firmly in place, and stop each tirangle sliding along the string, once and for all. Then I unpicked the original coloured tacking stitches and voila...


...cheap and cheerful indoor or outdoor bunting for any occasion!