Showing posts with label fabric. Show all posts

Friday, 6 March 2015

Bed-linen revamp


I had a beige set of bed linen passed on to me from my Grandma, which was really good quality, but didn't quite go with our bedroom interior.


So I dyed the whole set navy, fairly cheaply...


...and used some spare striped fabric I had lying around to liven up the plain navy...


...et voila - stripes are the future!


Tuesday, 6 January 2015

First attempt at wedding decorations: The 'Js'


With only 15 weeks to go until Jim and I get married, I thought I would put some time, scraps and effort to use and come up with some sort of decoration that can feature at the wedding!

I love the fact that we both have names beginning with "J", and so, with this in mind, I drew and cut four of the letters out of sturdy cardboard along with two ampersand shapes.

I then cut up several old kitchen roll inner tubes into identical lengths to fit between two of each letter/shape to make them 3D.

Once I had securely sellotaped the 3D cardboard shapes in place I set about wrapping them with similarly coloured scraps of a few of Jim's old work shirts......

and this was the result!


Friday, 24 October 2014

Quick and easy window blind

It doesn't seem an obvious time to make a window blind for the bedroom now that the days are getting shorter and the mornings and evenings darker. However, we have an annoyingly bright streetlamp right outside our bedroom window and very measly thin white curtains, so for a while now I have had one intention and one intention only - to block out the light as much as possible by making an easy window blind.

Before:


Granted, it is daylight coming through the curtains there, but it's not too dissimilar at night!

Having never attempted a blind before I Googled some techniques and came up with the following equipment needed:

  • 2 identically sized pieces of contrasting fabric 2-3 inches larger round each side of the window you are fitting the blind to
  • needle/sewing machine, thread, pins
  • 4 x strips of ribbon the length of the window
  • sticky velcro strips slightly longer than the width of the window
  • doweling (I used a bamboo stick from my Dad's garden) 

And this is the rough method:

1. Cut your fabric pieces to size (remembering to allow space for seams) and pin the patterned sides together (face to face).

2. Sew along the bottom and down each side of the materials and then turn the fabric the right way out before ironing all the edges flat.

3. Sew along the bottom edge of the blind (about 1-1 1/2 inches from the bottom) for the doweling to slot into later:
 

 4. Pin your 4 bits of ribbon to the front and back of the top (the un-sewn edge) of the blind, about 1/4 of the way in from each side:


5. Then pin your furry (not the scratchy) part of the velcro strip to the front of the blind...


...before folding the pinned velcro over and pinning the fold so the velcro strip is now on the back of the top of the blind:


6.  Using a strong needle sew the velcro and ribbons into place:


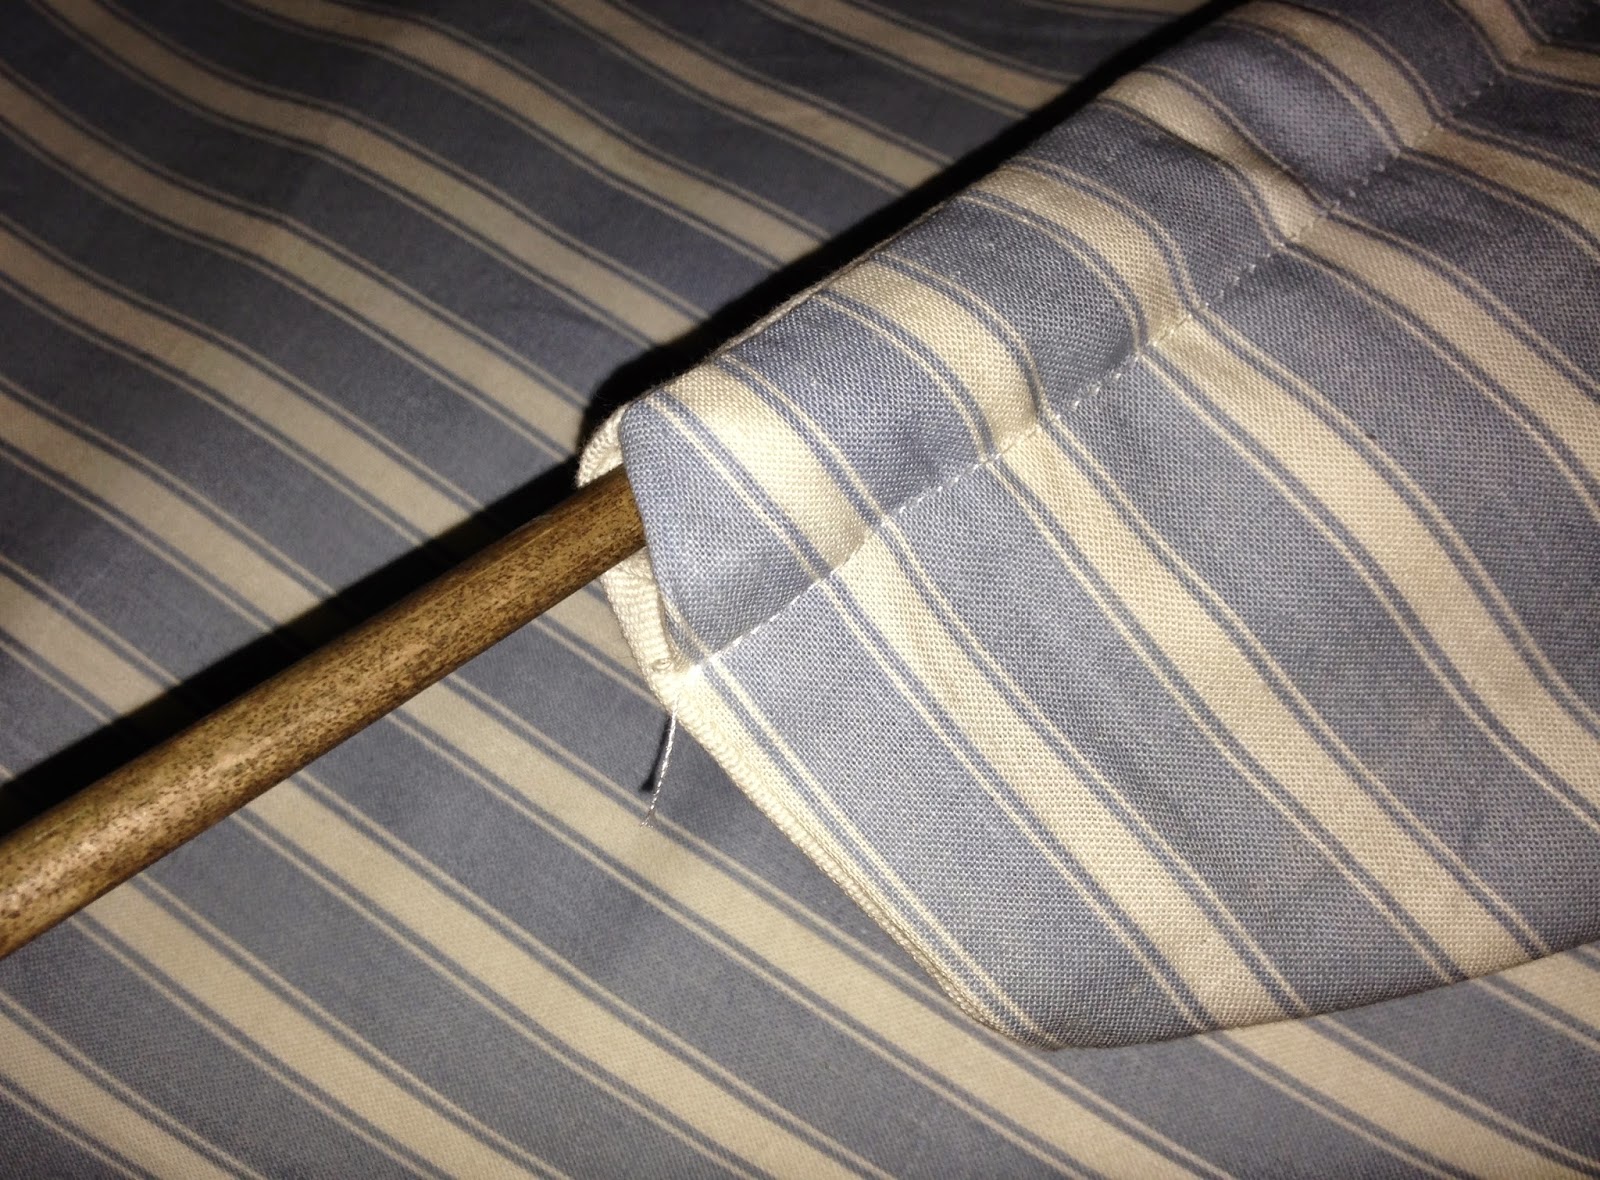
7. Unpick a few stitches on one end of the inch strip you sewed at the bottom of the blind and gently slide in the doweling:


8. Unpeel the protective tape from the scratchy, sticky bit of velcro and stick it to the wall or frame where you want to hang the blind, then simply attach the blind with the furry side of the velcro:


Ta da! It's doing a great job as Jim has struggled to get up for work on two consecutive days in a row due to not being used to it being so dark in the bedroom in the mornings!


Wednesday, 6 March 2013

Spring has sprung fabric noticeboard


After yesterday's delightful weather (highs of 16 degrees C on 5th March!) I thought it was time to post this blog on how to make a fabric covered noticeboard, after I recently made this floral and blue-ribboned one for Jim's sister's 18th birthday. It would also make a great Mothers' Day present :)


Take one old/new/borrowed (I don't know if you can get blue ones) cork pinboard and some wadding, and cut the wadding so that it is 3 inches bigger than the board all the way round.


I laid the board face down on the wadding and folded the edges round onto the back of the board. I also removed the tiny hooks and pins and kept them safe to re-attach later on.


I cut all four corners off the rectangle of wadding, so that it would fold better and sit more neatly on the back of the board.


Initially I tried using a staple-gun to affix the wadding, but the staples fell out. My very good friend and craft advisor Stephanie Lewis recommended using double sided carpet tape to stick it on. Carpet tape is truly the stickiest and best "attatcher" I have ever come across.


I then cut the fabric I wanted to use to size, again, about 3 inches larger all round than the board. Next I placed the wadding-covered board face down on the underside of the fabric and used the corner-cutting and carpet tape method as above to attach the fabic, making sure it was pulled quite tight.


Next I cut the ribbon to the different lengths required in order to make a nice diagonal criss-criss pattern and pinned them in place. I used a glue gun to stick down each ribbon end to the reverse of the board, again, ensuring that the ribbons were quite taught.


With the back of the board looking a bit scruffy what with the layers of wadding, carpet tape, fabric, ribbon and glue, I took an extra large bit of cardboard, trimmed it down to size and glue-gunned it onto the back to hide the mess.


Using a hammer I gently re-attached the hooks to the back of the board, ensuring the pattern on the fabric would be hanging the right way up.


Last but not least, I sewed some pearly buttons onto each ribbon crossover, also sewing through the fabric to make the ribbons a bit sturdier to hang things on.


This is an example of another board that my beautfiul mum made me a few years ago.


It's where I keep all the pretty cards and notelets that come through the post :)


Wednesday, 12 December 2012

Time for tea birthday card


For my Mum's birthday recently I wanted to make a unique card that was celebratory and also special. Tea time is the epitome of life at my family home - it's when we all come together and have a nice warm drink, probably a biscuit or bit of cake and catch up. And the best thing is it happens any time of the day! So choosing a theme that was so regular, but physically and literally heart-warming and comforting, and making it special by hand-stitching fabric on to card to make the image, seemed the perfect thing to do.

I began by cutting out shapes of fabric from templates I had drawn roughly on paper to make the components of the teacup, handle and saucer. After hemming each shape with a light running stitch so the frayed edges were all hidden I simply glued the cup and saucer sections together with PVA.


When it was fully dry I then glued the whole thing onto the front of a folded piece of A4 card and waited for that to dry too.


I then lightly wrote the words on the front with pencil to make sure they all fitted in before starting sewing...
 

...and using contrasting thick thread I sewed over the letters.


And this was how it looked when I gave it to my Mum on her birthday!


PS. A Christmas post to follow soon hopefully!

Wednesday, 28 November 2012

How not to re-cover a vintage armchair


This is the final result of a project that began about two years ago when my kind Aunt gave me a lovely, comfortable old vintage armchair (see original upholstery below). The original colour was so vibrant and fresh, but we don't really have a lot of velvety materials in our living room, so I planned to tone it down and blend it in a bit from the moment that it crossed the threshold into our little flat, rather than having such a bold centrepiece armchair.


With no previous experience of re-upholstery I googled, searched, asked friends and family, and watched numerous youtube videos to work out how I should begin the project, while the poor green armchair hid under various interchangeable blankets and throws. When I felt I had some understanding of what a vast undertaking it was and the lack of specific tools I had, I decided to just go with the flow and create a sort of throw-come-cover that would have more of a relaxed appearance than proper re-upholstery would have.


I measured the surfaces of the armchair to try and work out the total amount of material I would need to cover it, and when that proved far too numerate and difficult I simply covered as much of it as I could with make-do newspaper templates, roughly worked out how much material I would need, and visited Fabrics Galore down the road for a soft-toned and neutral fabric.


I found a nice, reasonably priced, stone striped material, thick enough to withstand begin sat, bounced, and occasionally slept on, and proceeded to use the newspaper templates to cut sections of fabric to cover the chair.


In order to prevent any rips or tears in the fabric, I realised I needed to cover the top of the seat seperately to the seat cushion so that the material didn't move or get stretched when the chair was sat on.


With something resembling an armchair cover skeleton, I began hemming and pinning it into something more permanent and structured.


I covered the seat cushion in the fabric, positioning the seams along the edges of the cushion and leaving a gap for a zip to be inserted in case of washing emergencies if something were to be spilled (most likely by me) on it.


I lightly tacked the cover together by hand using a brightly coloured thread, then used the sewing machine to go over all the seams, and then cut away all the tacking thread.


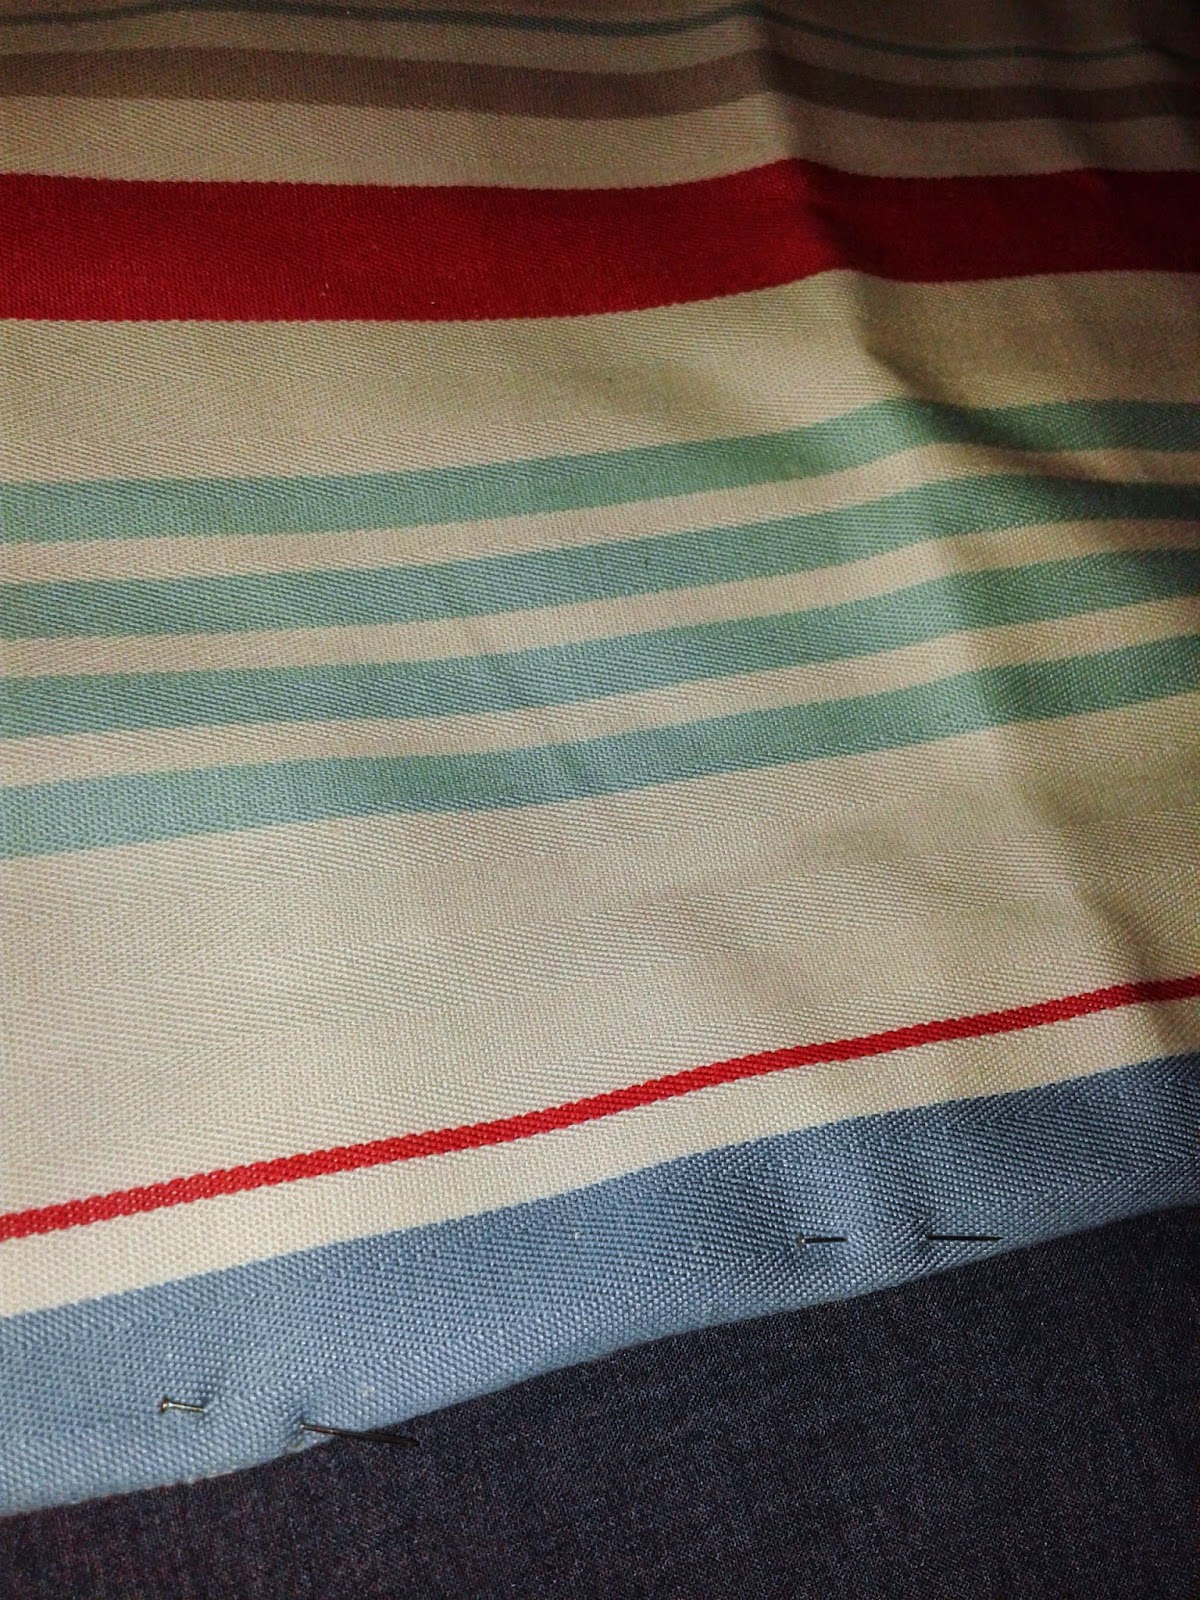
This is a slightly cheating blog post due to the fact that I have tacked the rest of the armchair cover together by hand, but haven't yet finished sewing it together with the sewing machine. But as you can see below, it has started to resemble a completely new armchair, one that fits with the rest of the living room and only cost me the length of the material (about £15) and time (roughly 9 months)...


Wednesday, 22 August 2012

Applique, patterned circular cushion


A few years ago I realised that the doodles I had been drawing in lectures while at university and in various office meetings all had a tendancy to be circular patterns that repeated out from a centre point. I don't know what this means from a psychological point of view, but when it came to thinking up an idea for a cushion cover design for a friend's birthday present, I had a whole wealth of mini designs to draw on (yes, I kept some doodles on scraps of paper - I don't know why).


I began by sketching out a circular pattern on paper to see how well the shapes would fit together keeping them as simple, but as striking, as possible. Next, I drew and cut out some sturdier cardboard templates of the three main shapes that would make up the repeating pattern and used them to cut out several of each shape in different coloured fabrics.


I pinned the shapes onto a piece of plain cotton to form the main cover. With a rough idea of the size of the pattern, I bought a round cushion pad, and then cut round the shapes on the fabric to the size of the cushion and cut one other piece the same size for the back of the cover, leaving about 2 inches round each edge for the hem. (Unfortunately, it turned out that the cover needed to be smaller than I'd originally anticipated in order to make the cushion inside fit in a nice, padded way, so I had to remove the outer two rings of shapes...)


Using blanket stitch, I sewed each shape in place onto the fabric by hand. Then I pinned the front and back parts of the cover together face to face and sewed them together with the sewing machine, leaving a gap of about 20cm to fit the cushion into when it was turned the right way out.


Finally, I squeezed the cushion pad into the cover and sewed up the remaining gap by hand.


And there you have one slightly wonky, circular, patterned cushion!