Showing posts with label birthday. Show all posts

Wednesday, 6 March 2013

Spring has sprung fabric noticeboard


After yesterday's delightful weather (highs of 16 degrees C on 5th March!) I thought it was time to post this blog on how to make a fabric covered noticeboard, after I recently made this floral and blue-ribboned one for Jim's sister's 18th birthday. It would also make a great Mothers' Day present :)


Take one old/new/borrowed (I don't know if you can get blue ones) cork pinboard and some wadding, and cut the wadding so that it is 3 inches bigger than the board all the way round.


I laid the board face down on the wadding and folded the edges round onto the back of the board. I also removed the tiny hooks and pins and kept them safe to re-attach later on.


I cut all four corners off the rectangle of wadding, so that it would fold better and sit more neatly on the back of the board.


Initially I tried using a staple-gun to affix the wadding, but the staples fell out. My very good friend and craft advisor Stephanie Lewis recommended using double sided carpet tape to stick it on. Carpet tape is truly the stickiest and best "attatcher" I have ever come across.


I then cut the fabric I wanted to use to size, again, about 3 inches larger all round than the board. Next I placed the wadding-covered board face down on the underside of the fabric and used the corner-cutting and carpet tape method as above to attach the fabic, making sure it was pulled quite tight.


Next I cut the ribbon to the different lengths required in order to make a nice diagonal criss-criss pattern and pinned them in place. I used a glue gun to stick down each ribbon end to the reverse of the board, again, ensuring that the ribbons were quite taught.


With the back of the board looking a bit scruffy what with the layers of wadding, carpet tape, fabric, ribbon and glue, I took an extra large bit of cardboard, trimmed it down to size and glue-gunned it onto the back to hide the mess.


Using a hammer I gently re-attached the hooks to the back of the board, ensuring the pattern on the fabric would be hanging the right way up.


Last but not least, I sewed some pearly buttons onto each ribbon crossover, also sewing through the fabric to make the ribbons a bit sturdier to hang things on.


This is an example of another board that my beautfiul mum made me a few years ago.


It's where I keep all the pretty cards and notelets that come through the post :)


Wednesday, 12 December 2012

Time for tea birthday card


For my Mum's birthday recently I wanted to make a unique card that was celebratory and also special. Tea time is the epitome of life at my family home - it's when we all come together and have a nice warm drink, probably a biscuit or bit of cake and catch up. And the best thing is it happens any time of the day! So choosing a theme that was so regular, but physically and literally heart-warming and comforting, and making it special by hand-stitching fabric on to card to make the image, seemed the perfect thing to do.

I began by cutting out shapes of fabric from templates I had drawn roughly on paper to make the components of the teacup, handle and saucer. After hemming each shape with a light running stitch so the frayed edges were all hidden I simply glued the cup and saucer sections together with PVA.


When it was fully dry I then glued the whole thing onto the front of a folded piece of A4 card and waited for that to dry too.


I then lightly wrote the words on the front with pencil to make sure they all fitted in before starting sewing...
 

...and using contrasting thick thread I sewed over the letters.


And this was how it looked when I gave it to my Mum on her birthday!


PS. A Christmas post to follow soon hopefully!

Wednesday, 24 October 2012

For the love of cards

It's been a while since I last posted on here, and although I would like to say that's because I have been up to lots of exciting things, more accurately, it's actually a few other people who have been up to several very exciting things all on the same day...

Saturday 20th October saw my Grandma turn 90.


Happy birthday Grandma!

After sending her an appliqued rabbit card earlier on in the year for Easter, I decided to recreate a similar card for her big birthday bash on Saturday.

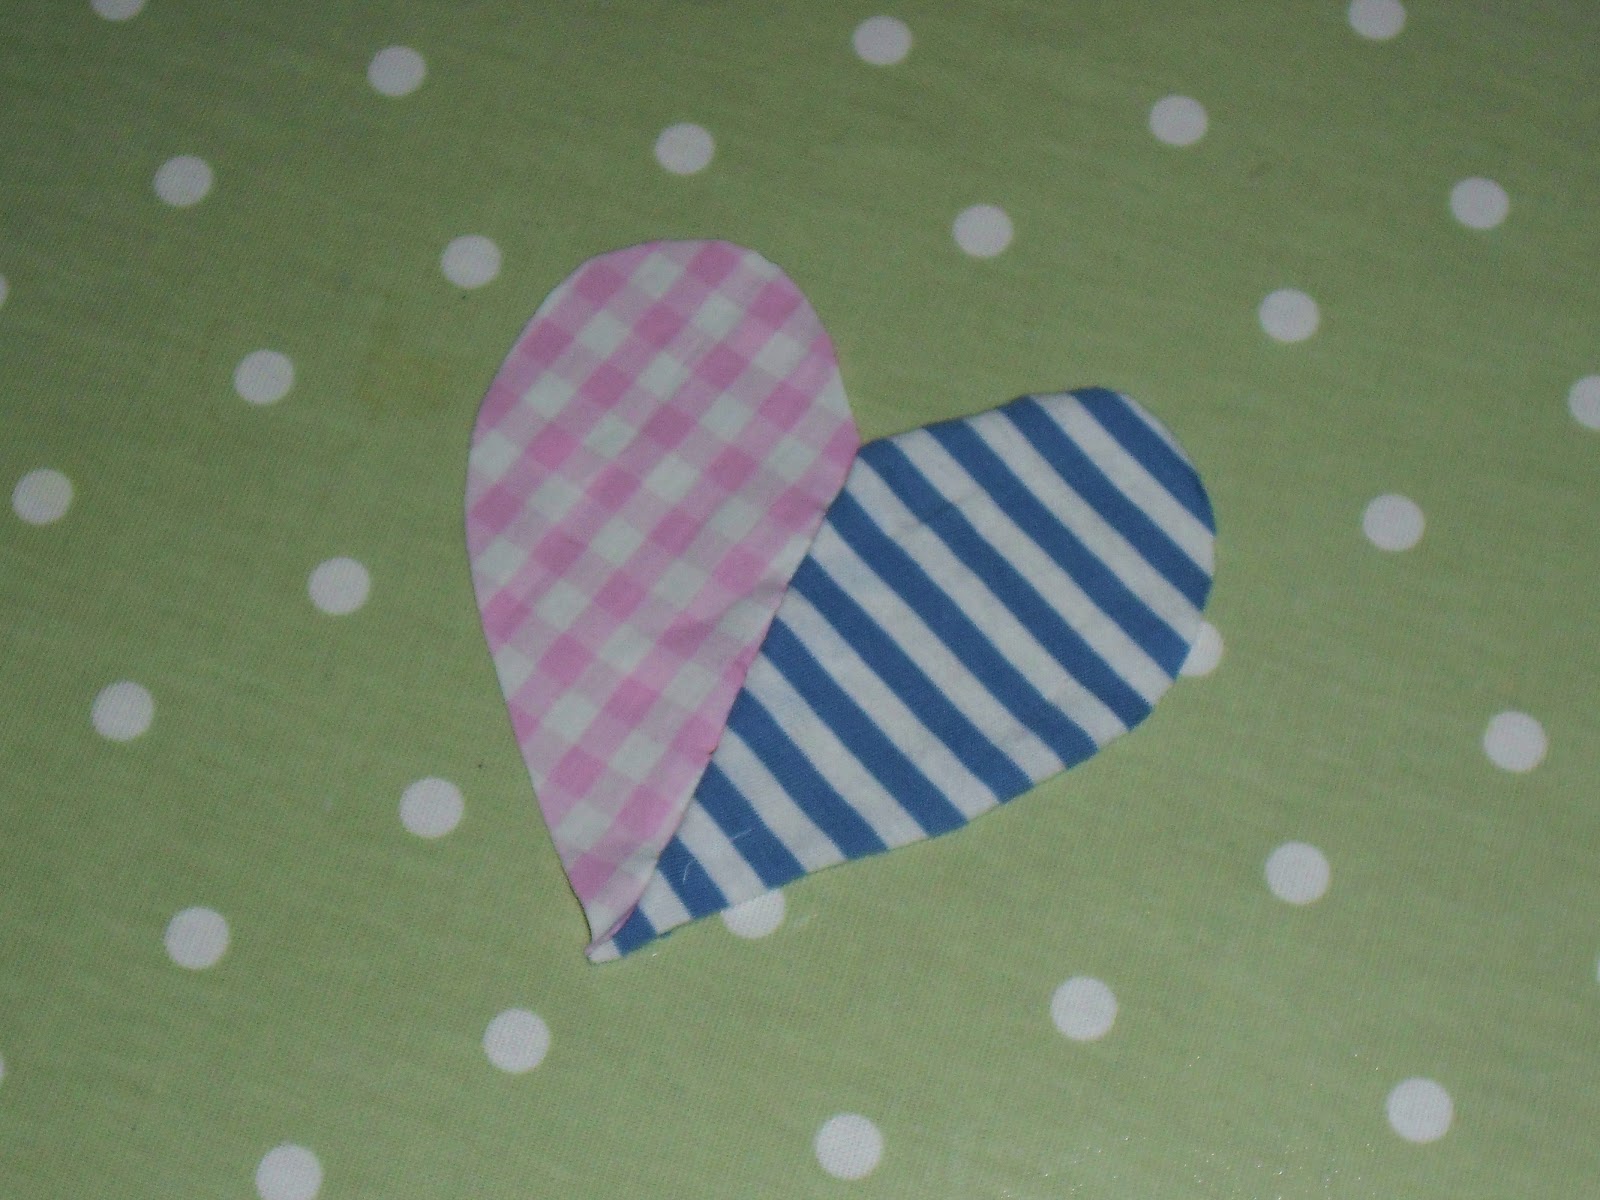
Using a heart template pinned onto a piece of fabric I cut out the main shape.


Then I did the same with the numbers, and used blanket stitch to sew them onto the heart.


I then used a couple of pins to hold the heart in place on a piece of folded white card and used a basic running stitch to attach the heart so that it looked equally as neat on the inside of the card as on the front.


After my Grandma's party I returned home, and checking Facebook just before bed, discovered that not only had a couple of Jim's friends got engaged that day after an 8 year relationship, but so had one of my best friends and her boyfriend, after almost a similar length of time! Hooray!!

Time to get out the heart template again!

I had the idea to make the heart two different colours and then appliquing their forename initials, rather than numbers, to each side:


Ta da! Congratulations Stella and Alex and James and Emma!