Showing posts with label present. Show all posts

Tuesday, 6 January 2015

Ombre star canvas

My sister has recently moved into her first owned flat in Kent, and so with the new year upon us I thought it would be a perfect time to make her a new home house-warming present!


I sneakily collected a selection of paint swatches from various DIY shops:


And used a favourite gadget from my Mum's craft collection...


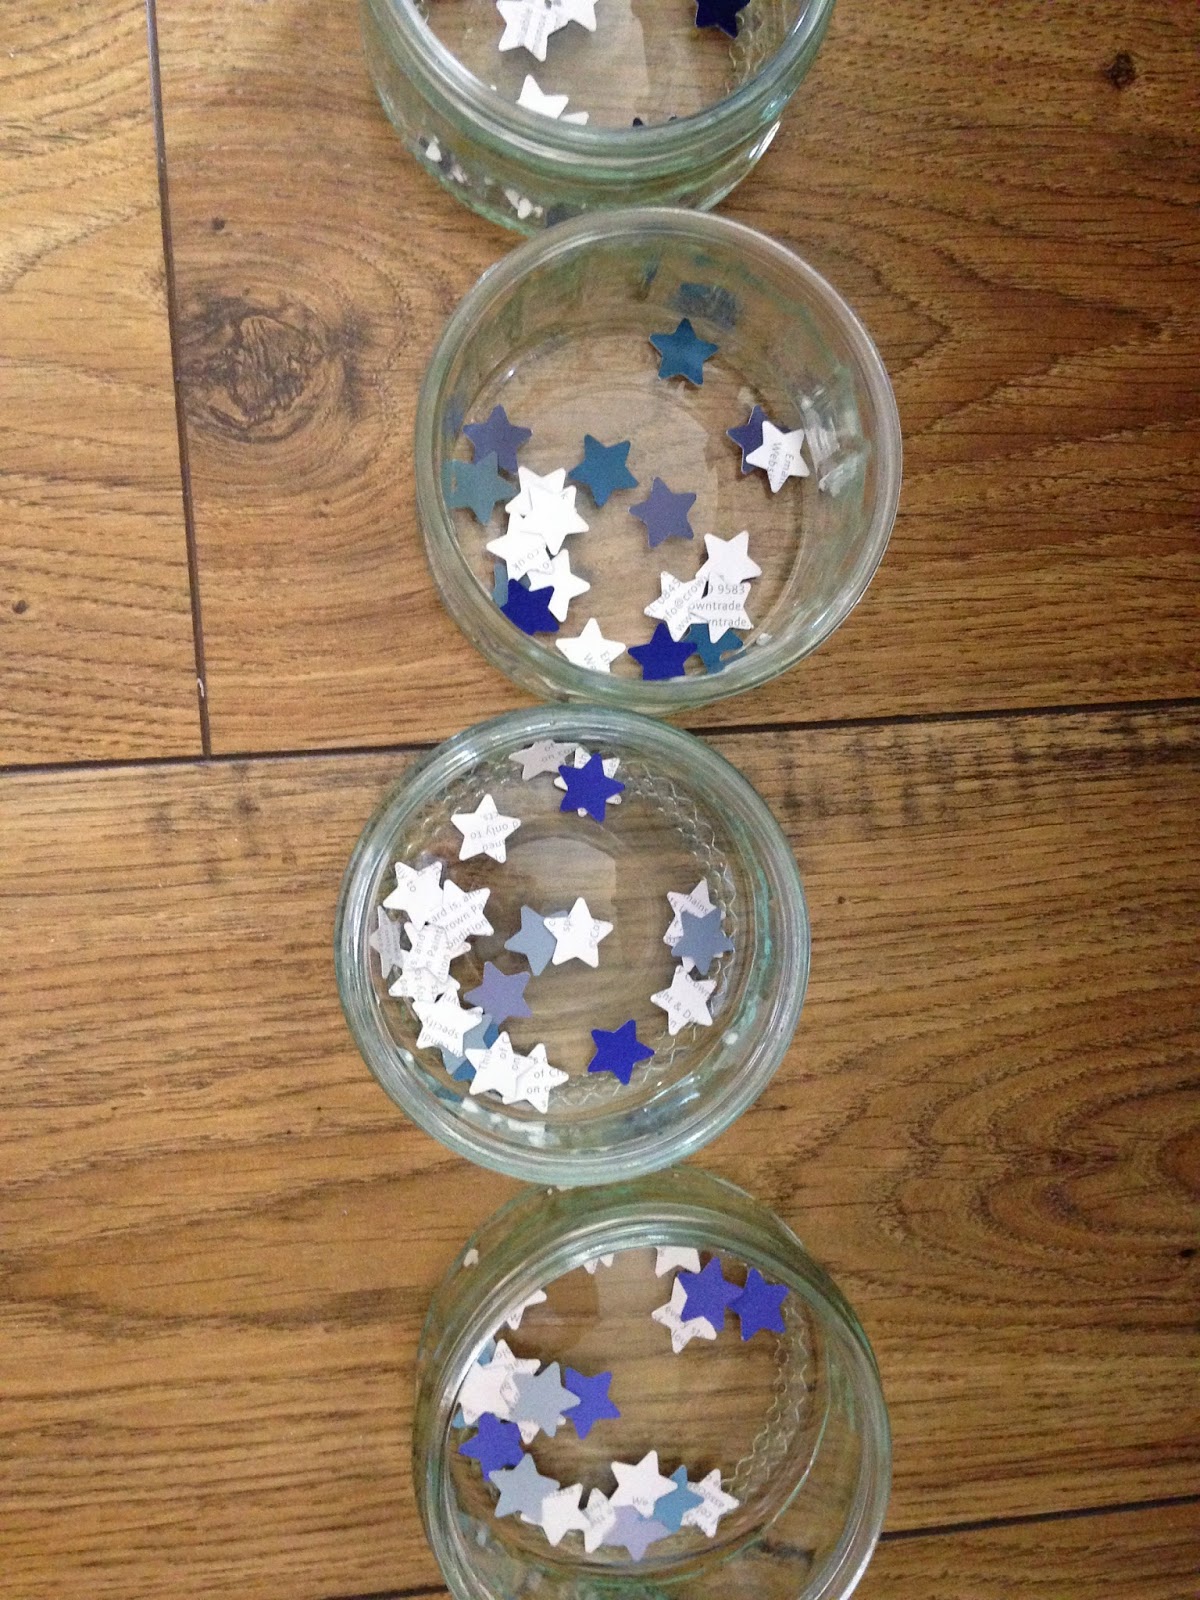
...to cut out a colour-themed array of tiny stars, which I grouped in varying shades of blue:


I then measured out equal spacings on a 50x50cm canvas and began PVA gluing the stars on in rows, from lightest blues to darkest...


...and waited for the glue to dry.


In the drying stage the stars' edges curled up slightly, but I like this as it gives the picture a nice 3D effect. I hope my sister does too!

Wednesday, 6 March 2013

Spring has sprung fabric noticeboard


After yesterday's delightful weather (highs of 16 degrees C on 5th March!) I thought it was time to post this blog on how to make a fabric covered noticeboard, after I recently made this floral and blue-ribboned one for Jim's sister's 18th birthday. It would also make a great Mothers' Day present :)


Take one old/new/borrowed (I don't know if you can get blue ones) cork pinboard and some wadding, and cut the wadding so that it is 3 inches bigger than the board all the way round.


I laid the board face down on the wadding and folded the edges round onto the back of the board. I also removed the tiny hooks and pins and kept them safe to re-attach later on.


I cut all four corners off the rectangle of wadding, so that it would fold better and sit more neatly on the back of the board.


Initially I tried using a staple-gun to affix the wadding, but the staples fell out. My very good friend and craft advisor Stephanie Lewis recommended using double sided carpet tape to stick it on. Carpet tape is truly the stickiest and best "attatcher" I have ever come across.


I then cut the fabric I wanted to use to size, again, about 3 inches larger all round than the board. Next I placed the wadding-covered board face down on the underside of the fabric and used the corner-cutting and carpet tape method as above to attach the fabic, making sure it was pulled quite tight.


Next I cut the ribbon to the different lengths required in order to make a nice diagonal criss-criss pattern and pinned them in place. I used a glue gun to stick down each ribbon end to the reverse of the board, again, ensuring that the ribbons were quite taught.


With the back of the board looking a bit scruffy what with the layers of wadding, carpet tape, fabric, ribbon and glue, I took an extra large bit of cardboard, trimmed it down to size and glue-gunned it onto the back to hide the mess.


Using a hammer I gently re-attached the hooks to the back of the board, ensuring the pattern on the fabric would be hanging the right way up.


Last but not least, I sewed some pearly buttons onto each ribbon crossover, also sewing through the fabric to make the ribbons a bit sturdier to hang things on.


This is an example of another board that my beautfiul mum made me a few years ago.


It's where I keep all the pretty cards and notelets that come through the post :)


Thursday, 7 February 2013

Valentine's Heart Decoration


This is a bit of a cheaty post as I originally made this hanging heart decoration to give to my lovely friend Sally as a Secret Santa Christmas present back in December. However, this time of year sees the rekindling of all heart-shaped things in celebration of Valentine's Day.


Ahh lovely.

So, if you are in need of some inspiration for a simple and effective Valentine's gift that won't break the bank, or just fancy sewing a delightful little decoration regardless of the time of year, then follow the simple steps below!


1. Cut a heart shape out of old newspaper to the size you want. I wouldn't go much smaller than 10cm in height otherwise it might bet a bit fiddly sewing on the letters, but would be absolutely fine if you wanted to leave the hearts plain.


2. Use the heart template to cut out hearts (double the number of finished hearts that you so desire) from your chosen fabric and keep them together in pairs.


3. Using a contracting fabric, or many contrasting fabrics, cut out the letters of the word you want to spell out on your hearts. I used letters printed out from the computer so all my letters were the same font and size.

4. Using blanket stitch, I sewed each letter onto one fabric heart.

5. Now pin one lettered heart to one plain heart and use a basic running stitch to sew all the way around, about 1cm in from the edge. But don't sew right the way round to where you started - you need to leave a gap about 2 inches long to stick the stuffing into to make the hearts 3D. Once they are as fat as you like with stuffing finish off sewing round the heart.

6. Cut a length of ribbon about 15cm long for each heart. Fold the bits of ribbon in half and pin them to the top of the heart inside the two bits of fabric. Attach the pieces of ribbon with a single sturdy cross-stitch running through the ribbon and both bits of fabric.


7. Now thread a piece of string or more ribbon through the ribbon loops you have sewn onto the hearts and voila! A hanging heart decoration to add a bit of country loving to your home, or to give as a Valentine's Day present.


Wednesday, 22 August 2012

Applique, patterned circular cushion


A few years ago I realised that the doodles I had been drawing in lectures while at university and in various office meetings all had a tendancy to be circular patterns that repeated out from a centre point. I don't know what this means from a psychological point of view, but when it came to thinking up an idea for a cushion cover design for a friend's birthday present, I had a whole wealth of mini designs to draw on (yes, I kept some doodles on scraps of paper - I don't know why).


I began by sketching out a circular pattern on paper to see how well the shapes would fit together keeping them as simple, but as striking, as possible. Next, I drew and cut out some sturdier cardboard templates of the three main shapes that would make up the repeating pattern and used them to cut out several of each shape in different coloured fabrics.


I pinned the shapes onto a piece of plain cotton to form the main cover. With a rough idea of the size of the pattern, I bought a round cushion pad, and then cut round the shapes on the fabric to the size of the cushion and cut one other piece the same size for the back of the cover, leaving about 2 inches round each edge for the hem. (Unfortunately, it turned out that the cover needed to be smaller than I'd originally anticipated in order to make the cushion inside fit in a nice, padded way, so I had to remove the outer two rings of shapes...)


Using blanket stitch, I sewed each shape in place onto the fabric by hand. Then I pinned the front and back parts of the cover together face to face and sewed them together with the sewing machine, leaving a gap of about 20cm to fit the cushion into when it was turned the right way out.


Finally, I squeezed the cushion pad into the cover and sewed up the remaining gap by hand.


And there you have one slightly wonky, circular, patterned cushion!