I have a new blogging home at Jo Cavey Creates where I have moved a few of the posts from this site and will also be blogging about new and different things :)
Tuesday, 16 June 2015

Friday, 6 March 2015


Bed-linen revamp

I had a beige set of bed linen passed on to me from my Grandma, which was really good quality, but didn't quite go with our bedroom interior.

So I dyed the whole set navy, fairly cheaply...

...and used some spare striped fabric I had lying around to liven up the plain navy...
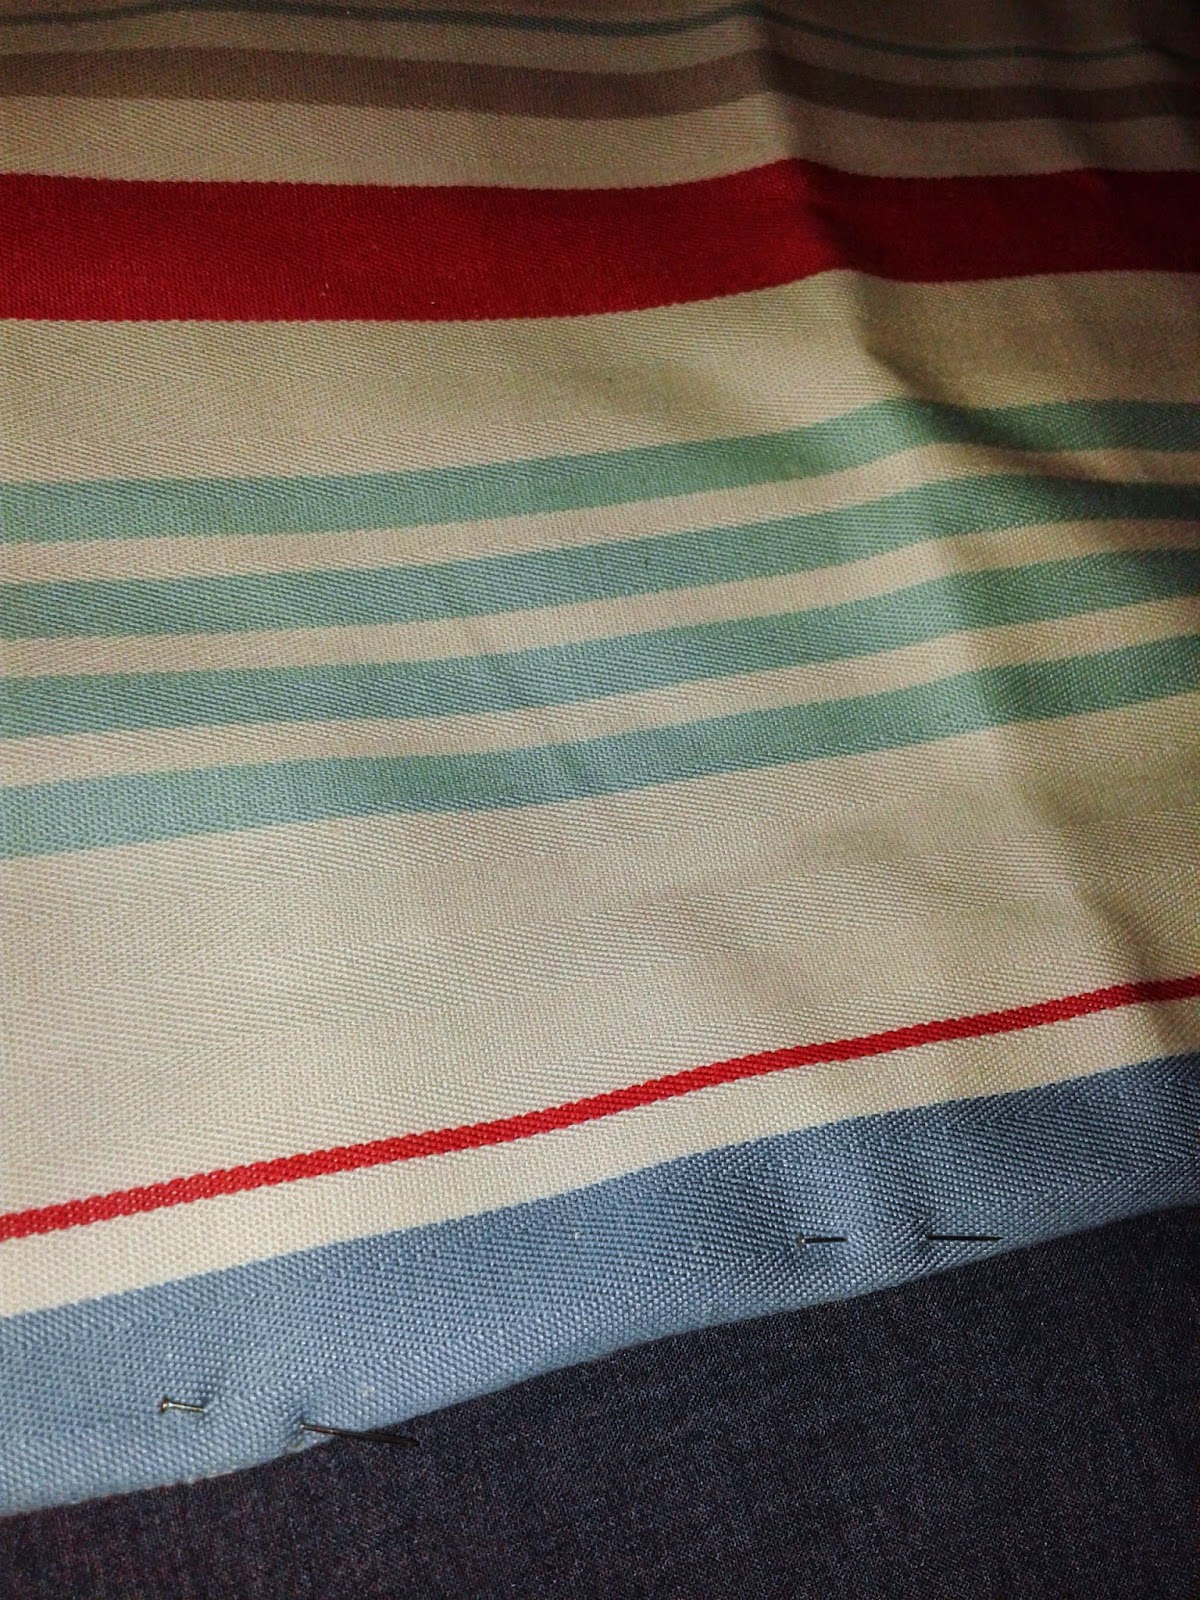


...et voila - stripes are the future!
Tuesday, 6 January 2015
Ombre star canvas
My sister has recently moved into her first owned flat in Kent, and so with the new year upon us I thought it would be a perfect time to make her a new home house-warming present!

I sneakily collected a selection of paint swatches from various DIY shops:

And used a favourite gadget from my Mum's craft collection...

...to cut out a colour-themed array of tiny stars, which I grouped in varying shades of blue:
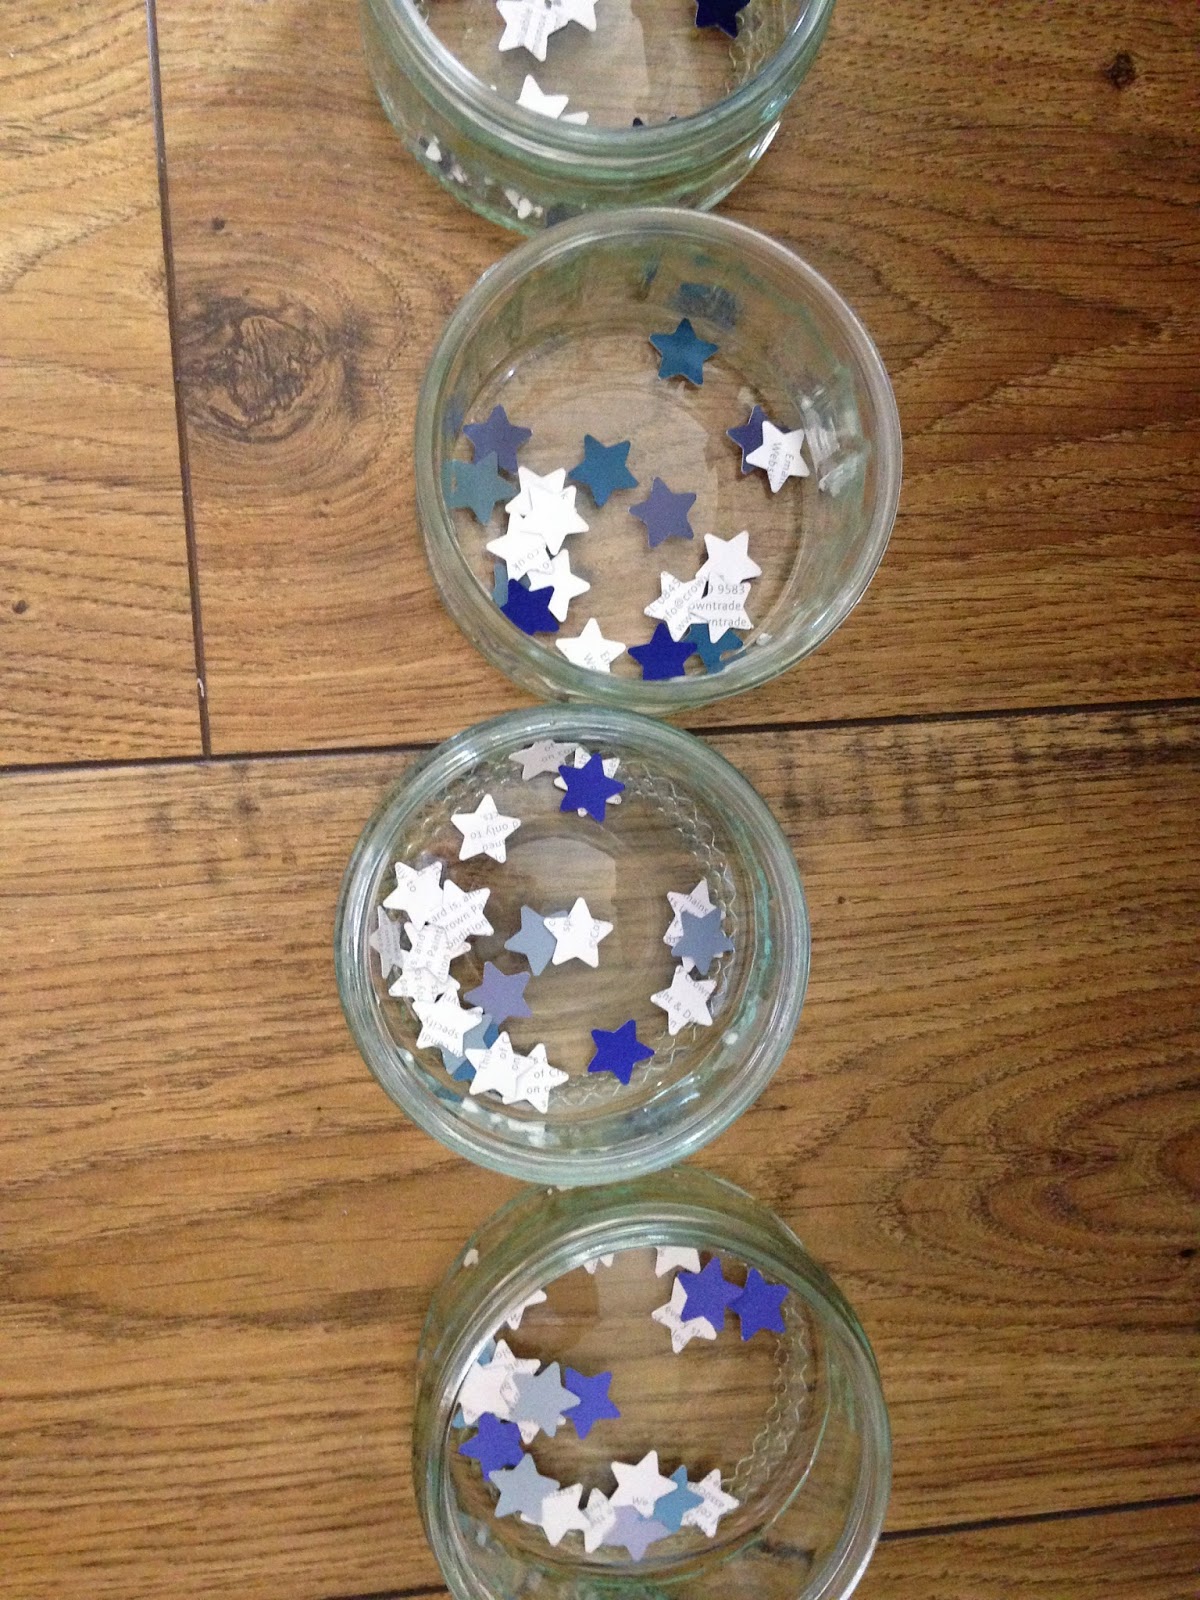
I then measured out equal spacings on a 50x50cm canvas and began PVA gluing the stars on in rows, from lightest blues to darkest...


...and waited for the glue to dry.

In the drying stage the stars' edges curled up slightly, but I like this as it gives the picture a nice 3D effect. I hope my sister does too!
I sneakily collected a selection of paint swatches from various DIY shops:
And used a favourite gadget from my Mum's craft collection...
...to cut out a colour-themed array of tiny stars, which I grouped in varying shades of blue:
I then measured out equal spacings on a 50x50cm canvas and began PVA gluing the stars on in rows, from lightest blues to darkest...
...and waited for the glue to dry.
In the drying stage the stars' edges curled up slightly, but I like this as it gives the picture a nice 3D effect. I hope my sister does too!
Hallway transformation Part II
So this is where we left off the transformation of our flat hallway just before Christmas:

I nailed together and then painted the halved table in the same colour as the mirror (see that transformation here):


With the stripes finished on the wall, I screwed in the bobbin hooks...


First attempt at wedding decorations: The 'Js'

With only 15 weeks to go until Jim and I get married, I thought I would put some time, scraps and effort to use and come up with some sort of decoration that can feature at the wedding!
I love the fact that we both have names beginning with "J", and so, with this in mind, I drew and cut four of the letters out of sturdy cardboard along with two ampersand shapes.
I then cut up several old kitchen roll inner tubes into identical lengths to fit between two of each letter/shape to make them 3D.
Once I had securely sellotaped the 3D cardboard shapes in place I set about wrapping them with similarly coloured scraps of a few of Jim's old work shirts......
and this was the result!

Wednesday, 17 December 2014
Bobbin hooks

I lightly sanded then painted the wood with some white primer, and followed with two coats of the same mocha paint that I had chosen for the stripes in the hallway.
Then I spaced the bobbins evenly apart along the wood and drilled long enough screws into the bobbin holes so that they reached the wood on the other side (but didn't poke out of the back of the plank).

Again using the trusty drill and rawl plugs I attached the hooks horizontally to the wall:
See Hallway transformation Part II to see the hooks in action!
Hallway transformation Part I

So the hallway in our flat has looked fairly bare and bland for a good year now... It really is a completely functional space used solely for traveling between the bedroom and bathroom, and the kitchen-living area, and nothing beyond that.
I thought it was about time to try and spruce it up to look a bit more attractive, and also see if there was a way to make the narrow space a bit more useful. However, at about 4m long by 1.5m wide with 5 doors (including one for a handy giant cupboard) coming off it, and a small radiator on one wall, it was limited in terms of being a canvas for creativity...


I found the below plant stand/table at a junk shop in Crystal Palace for £20. It was in a bit of a rickety condition and needed much TLC. Rather than sanding it down, enforcing the loose legs with nails and screws and repainting or waxing it, I decided to go completely the other way and literally take it apart...


In the meantime I had started measuring out and penciling in the lines of wide stripes on the inside of the external wall in the hallway. I found a selection of paint left in the handy giant cupboard by the previous owners, which I thought I'd make good, thrifty use of. I masking-taped the borders of where I wanted to paint, and cracked open a tin of Dulux "Mocha":

Halfway through (having temporarily run out of masking tape), I assembled the halved plant table and played around with different positions for it to work best in. The mirror below was already up in the hall, and with some Annie Sloane "Old White" chalk paint still left over, I thought that would be the best way to go with the table too.

The stripes are now finished in hallway, and manage to add a bit of depth and excitement already! Part II to follow...
Subscribe to:
Posts (Atom)