Wednesday, 28 November 2012

How not to re-cover a vintage armchair


This is the final result of a project that began about two years ago when my kind Aunt gave me a lovely, comfortable old vintage armchair (see original upholstery below). The original colour was so vibrant and fresh, but we don't really have a lot of velvety materials in our living room, so I planned to tone it down and blend it in a bit from the moment that it crossed the threshold into our little flat, rather than having such a bold centrepiece armchair.


With no previous experience of re-upholstery I googled, searched, asked friends and family, and watched numerous youtube videos to work out how I should begin the project, while the poor green armchair hid under various interchangeable blankets and throws. When I felt I had some understanding of what a vast undertaking it was and the lack of specific tools I had, I decided to just go with the flow and create a sort of throw-come-cover that would have more of a relaxed appearance than proper re-upholstery would have.


I measured the surfaces of the armchair to try and work out the total amount of material I would need to cover it, and when that proved far too numerate and difficult I simply covered as much of it as I could with make-do newspaper templates, roughly worked out how much material I would need, and visited Fabrics Galore down the road for a soft-toned and neutral fabric.


I found a nice, reasonably priced, stone striped material, thick enough to withstand begin sat, bounced, and occasionally slept on, and proceeded to use the newspaper templates to cut sections of fabric to cover the chair.


In order to prevent any rips or tears in the fabric, I realised I needed to cover the top of the seat seperately to the seat cushion so that the material didn't move or get stretched when the chair was sat on.


With something resembling an armchair cover skeleton, I began hemming and pinning it into something more permanent and structured.


I covered the seat cushion in the fabric, positioning the seams along the edges of the cushion and leaving a gap for a zip to be inserted in case of washing emergencies if something were to be spilled (most likely by me) on it.


I lightly tacked the cover together by hand using a brightly coloured thread, then used the sewing machine to go over all the seams, and then cut away all the tacking thread.


This is a slightly cheating blog post due to the fact that I have tacked the rest of the armchair cover together by hand, but haven't yet finished sewing it together with the sewing machine. But as you can see below, it has started to resemble a completely new armchair, one that fits with the rest of the living room and only cost me the length of the material (about £15) and time (roughly 9 months)...


Wednesday, 31 October 2012

Paris Grey painted chairs

Over the past few months I have been building up quite a collection of dining chairs. As useful as they are for sitting on, standing on, storing and displaying things on, and generally making the place feel more homely, there are only so many that we can fit into our tiny flat. I have now conlcuded that this number is five. We have two lovely spindly ones from my mum and dad, an even spindlier one that used to belong to Jim's Grandma, and an extra, younger, chunkier one we picked up from a charity shop when the need to seat 4 people became absolutely desperate.

The latest acquisitions came from the one and only freecycle.org and were a lovely sturdy pair of wooden dining chairs:


They were painted lovely colours, but had seen better days. I wanted to make our mismatched dining chair collection feel slightly more uniform and part of the same family, so looked into painting them, or at least a few of them the same colour. I began by giving these two a good wash down in the front garden and waited for them to dry while sitting in the last bit of autumn sunshine back in September.

That morning I had dragged Jim to The Forest Bailif a beautiful interior decoration and furniture shop in Raynes Park, where I picked up a sample pot of Annie Sloane's chalk paint in Paris Grey. This composition of paint is absolutely amazing. It has a rugged appearance but soft texture to it and you don't need to sand down or prime the item you are painting before applying the chalk paint. A brilliant time saver for impatient people like me!


Having confirmed that I loved the Paris Grey - this was a mighty achievement as I am so indecisive, but loved the colour for it's name (a sentimental reminder of our trip to Paris earlier this year) and also because it goes with everything in our living/dining room - I dragged Jim to a second Annie Sloane stockist - Tomlinsons in lovely Dulwich Village, where I splashed out on a whole litre pot of the Paris Grey chalk paint and some protective clear wax.

And this was the final result, after two coats of the paint and one of the wax:


Next on the list - two more Paris Grey chairs, and possibly a purple one thrown into the mix??!


Wednesday, 24 October 2012

For the love of cards

It's been a while since I last posted on here, and although I would like to say that's because I have been up to lots of exciting things, more accurately, it's actually a few other people who have been up to several very exciting things all on the same day...

Saturday 20th October saw my Grandma turn 90.


Happy birthday Grandma!

After sending her an appliqued rabbit card earlier on in the year for Easter, I decided to recreate a similar card for her big birthday bash on Saturday.

Using a heart template pinned onto a piece of fabric I cut out the main shape.


Then I did the same with the numbers, and used blanket stitch to sew them onto the heart.


I then used a couple of pins to hold the heart in place on a piece of folded white card and used a basic running stitch to attach the heart so that it looked equally as neat on the inside of the card as on the front.


After my Grandma's party I returned home, and checking Facebook just before bed, discovered that not only had a couple of Jim's friends got engaged that day after an 8 year relationship, but so had one of my best friends and her boyfriend, after almost a similar length of time! Hooray!!

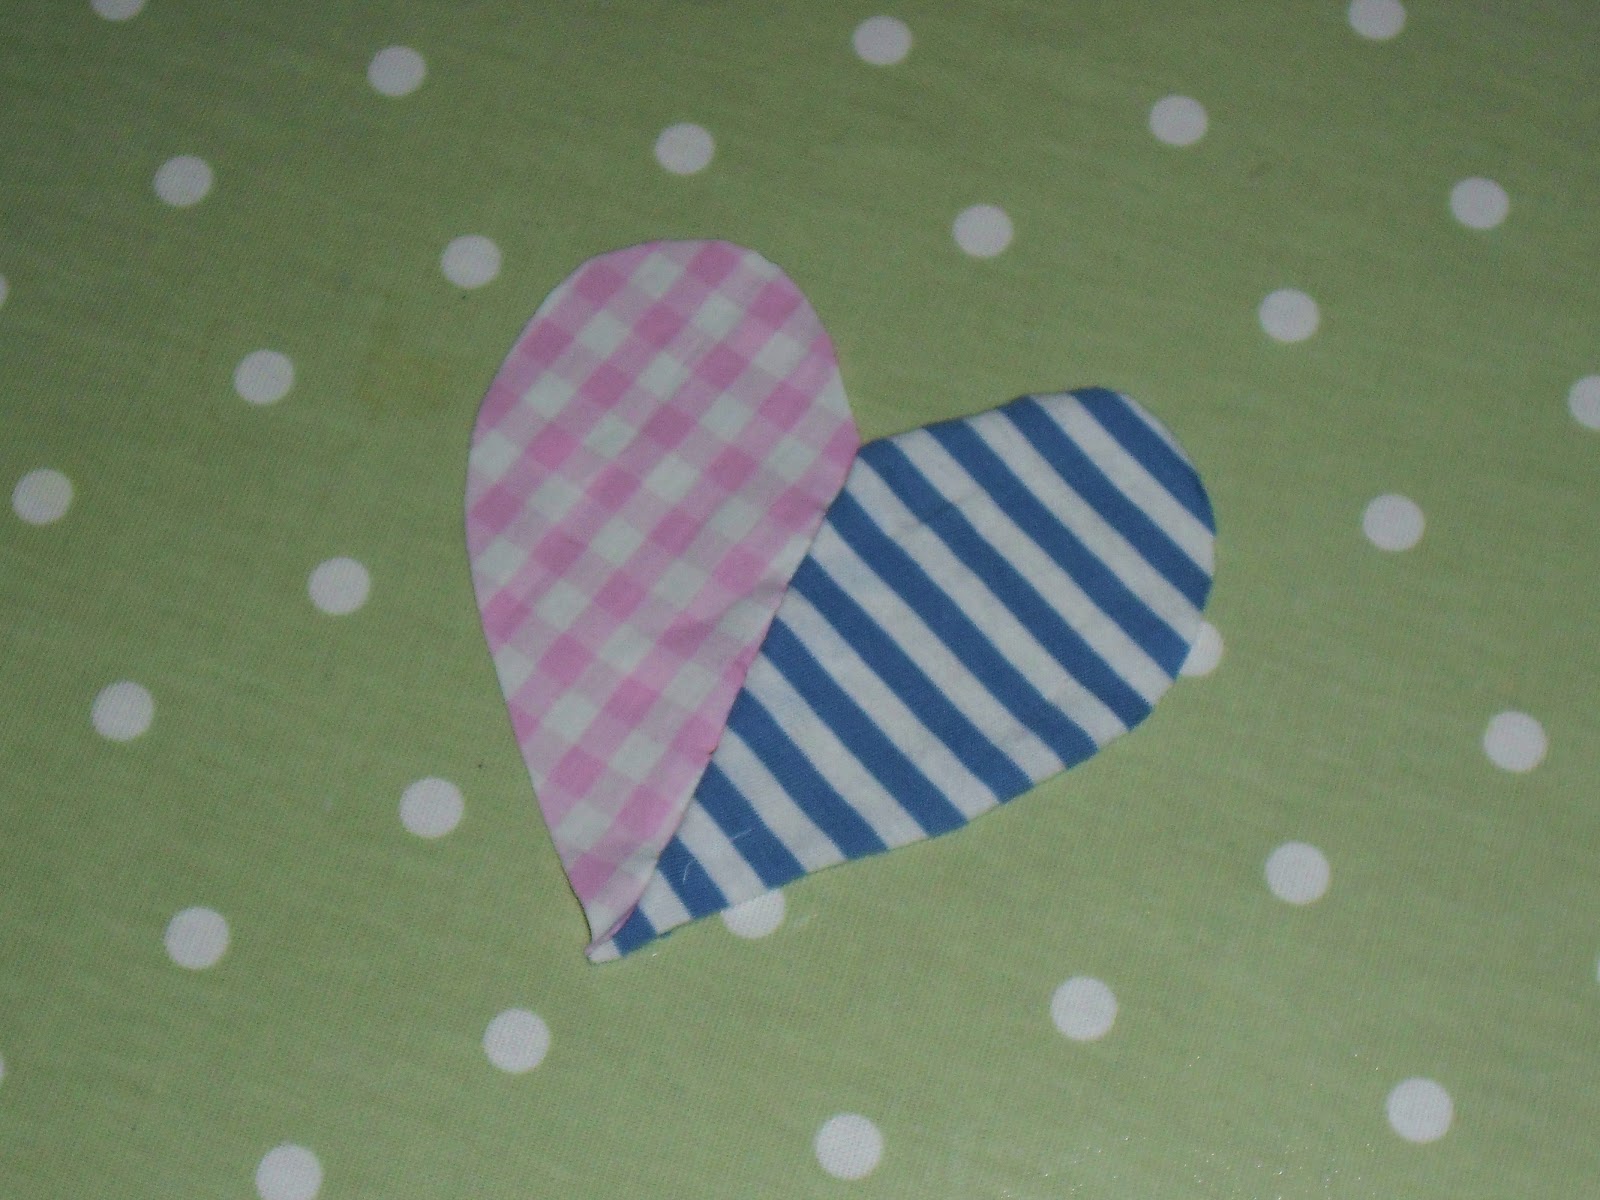
Time to get out the heart template again!

I had the idea to make the heart two different colours and then appliquing their forename initials, rather than numbers, to each side:


Ta da! Congratulations Stella and Alex and James and Emma!


Wednesday, 19 September 2012

Reborn chest of drawers

I am a member of freecycle and love to regularly browse the emails that get sent to me by people offering bits and bobs that they no longer want or need for free (check it out! uk.freecycle.org)

I recently acquired a lovely old chest of drawers through freecycle. As soon as I had collected it - with the help of Jim and the guy getting rid of it to get it in the car with all the seats folded down - and then struggled with Jim to get it up the stairs to our flat, I realised I may have not thought about the consequences of it being quite so large...

Nevertheless, we found a home for it in the corner of the living room under the telly:


I considered keeping it stained dark for a brief period, but it was in such a run down condition it needed sanding anyway and then redoing, which would have been a fair chunk of work. I set out with the intention of sanding it down and then seeing what it looked like before deciding to restain or varnish it. I took off the brass handles and put them to one side, discovering that one of the screws from one of the handles was missing in the process...I have been scouring eBay ever since to find a reasonable matching set!

Using an electric sander and some sandpaper in a few different levels of coarseness, Jim and I sanded the whole chest of drawers over the course of a couple of sunny Saturday mornings. I then wiped it down with a damp cloth.


This is what it now looks like. I love the natural colour and patterns within the wood, and aside from the lack of handles, I am very pleased and plan on leaving it like this. Just for protection I polished the top of the chest of drawers with wax polish to keep it from scratches and marks.

Wednesday, 22 August 2012

Applique, patterned circular cushion


A few years ago I realised that the doodles I had been drawing in lectures while at university and in various office meetings all had a tendancy to be circular patterns that repeated out from a centre point. I don't know what this means from a psychological point of view, but when it came to thinking up an idea for a cushion cover design for a friend's birthday present, I had a whole wealth of mini designs to draw on (yes, I kept some doodles on scraps of paper - I don't know why).


I began by sketching out a circular pattern on paper to see how well the shapes would fit together keeping them as simple, but as striking, as possible. Next, I drew and cut out some sturdier cardboard templates of the three main shapes that would make up the repeating pattern and used them to cut out several of each shape in different coloured fabrics.


I pinned the shapes onto a piece of plain cotton to form the main cover. With a rough idea of the size of the pattern, I bought a round cushion pad, and then cut round the shapes on the fabric to the size of the cushion and cut one other piece the same size for the back of the cover, leaving about 2 inches round each edge for the hem. (Unfortunately, it turned out that the cover needed to be smaller than I'd originally anticipated in order to make the cushion inside fit in a nice, padded way, so I had to remove the outer two rings of shapes...)


Using blanket stitch, I sewed each shape in place onto the fabric by hand. Then I pinned the front and back parts of the cover together face to face and sewed them together with the sewing machine, leaving a gap of about 20cm to fit the cushion into when it was turned the right way out.


Finally, I squeezed the cushion pad into the cover and sewed up the remaining gap by hand.


And there you have one slightly wonky, circular, patterned cushion!